 50.002 CS
FPGA Tools Installation Guide
Software to install:
- Vivado ML/Full Edition - 2023.2 or any later version
- Alchitry Lab V2 IDE,
- Latest Java Development Kit
Total additional space required: ~80GB. You may want to install these to an external drive.
Preface
The Alchitry IDE is used to write hardware designs in the Lucid programming language, offering a higher-level abstraction for FPGA development.
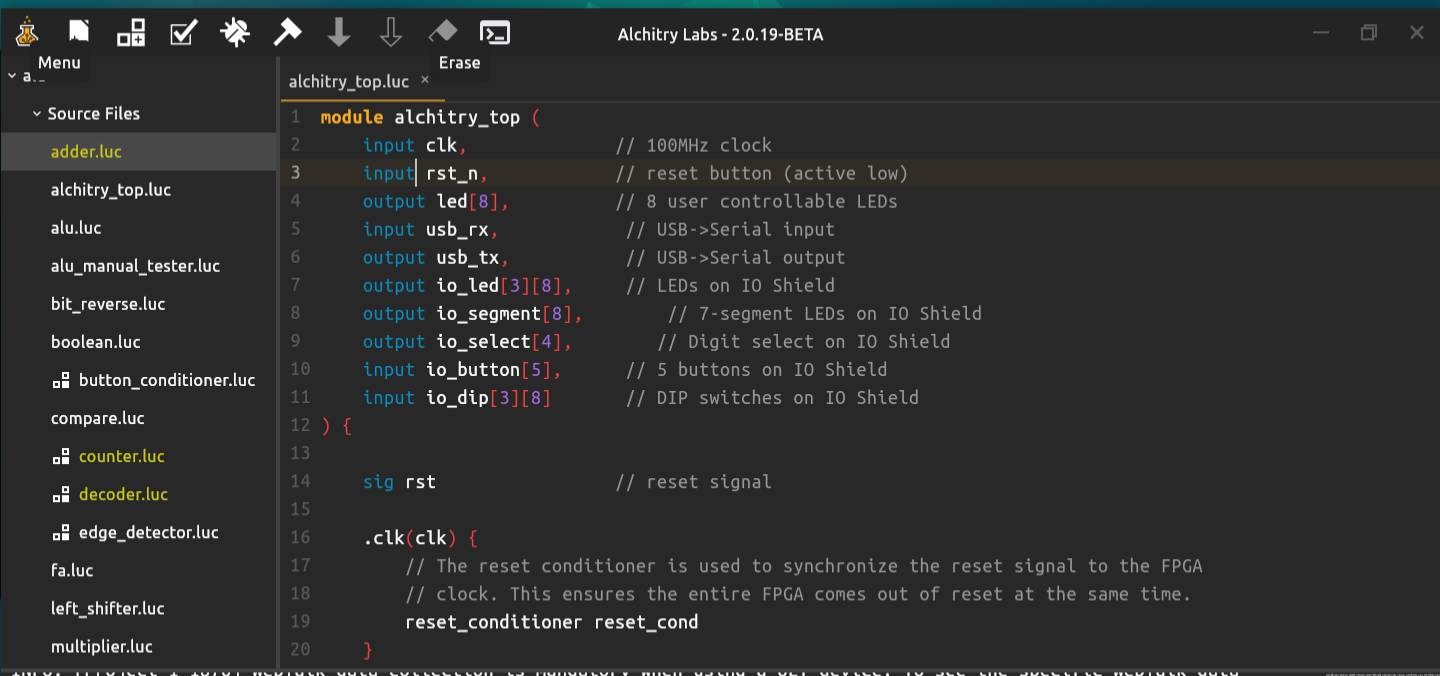
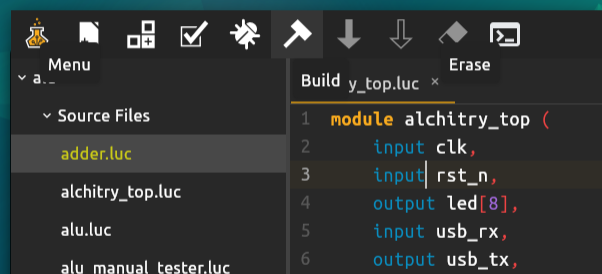
Once the code is ready, you can press build 🔨 button and the IDE translates Lucid to Verilog and utilizes Vivado (configured with its binary location) to synthesize and generate the bitstream file.
The bitstream file can be found under [PROJECT_DIR]/build/alchitry_au.bin:
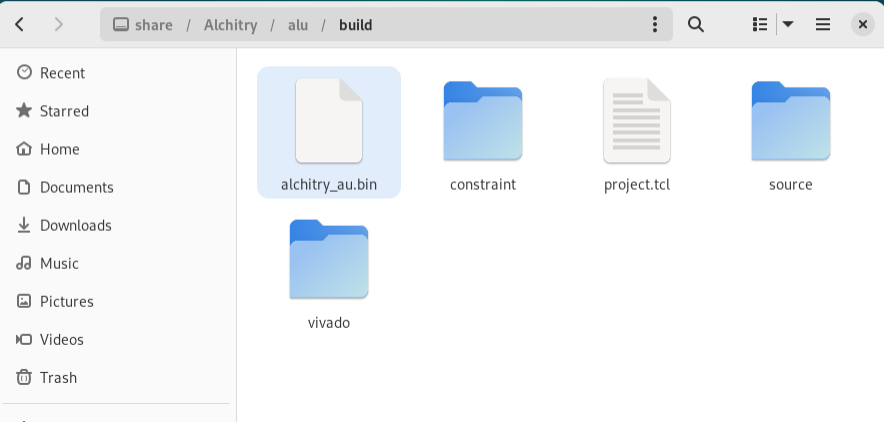
This bitstream is then loaded onto the FPGA, which is connected to the computer via USB for deployment.
Alchitry IDE can be installed and run on Windows, macOS (Apple Silicon), Linux, but Vivado can only be run on Windows & Linux.
Alchitry Lab Installation
Windows / Linux
Download Alchitry Lab 2 from here. For windows users, it might be more reliable if you download it from Microsoft Store. This is your IDE.
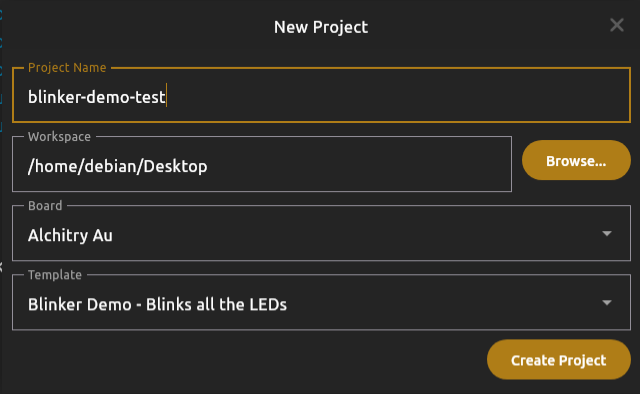
Once installed, open the app and you can create a new project. Select the template for Alchitry Au board and choose one of the basic template project:
macOS
This application does not prove its origin with a developer signature. To open it:
- Click the download button.
- Note: Do not use the Launchpad to perform the following steps as it will not allow you to access the shortcut menu.
- Open the Finder and locate the application in your Downloads folder.
- Control-click the app icon, then choose Open from the shortcut menu.
- You will see a security warning stating the identity of the app author is unknown. Click Open.
At this point, you can test your code with Alchitry lab with the simulator, but not building the binary to load to the FPGA.
Vivado Installation
Vivado is used to synthesize high-level hardware description code (in Verilog or Lucid translated to Verilog) into a netlist of logical gates. This netlist is then further processed through implementation steps, such as place-and-route, to produce a bitstream or binary file for programming the FPGA.
Vivado is available to install only on Windows / Linux x86.
🍎 Apple Silicon Mac
You cannot natively install Vivado on Apple Silicon macs. Xilinx Vivado doesn’t officially support ARM as of early 2025. Current workaround utilises UTM + Debian 12 + Rosetta, read this guide here.
You can however install the IDE and use the simulator on macOS (Apple Silicon). Skip to this section.
Windows x86-64 or Linux x86-64
x86: Utilise a VM
You can choose to install natively (next section) or utilise this VM (Windows 10 + Vivado 2024.2). You need to be logged into your SUTD email account to access.
Required space: 100-120GB.
You can use VM like VirtualBox or VMWare Fusion (free pro personal license) and then import the .ova file downloaded to VirtualBox (or to VMWare Fusion, or any other VM you use). You can immediately use the VM without installing anything.
The login password for the Windows VM is user.
If you have USB-C port with USB 4/Thunderbolt 3 or 4/USB 3 Gen 2x2 or Gen 2 connection or better, you can use an external SSD to store the VM image, and load it from there directly so it does not have to take up space in your internal SSD. Both your external SSD and your laptop/desktop must support the same high-speed USB-C standard for optimal performance.
Shared Folders
Shared folders allow seamless file transfer between your host OS and your VM without using USB drives or network sharing. The steps highly depends on which hypervisor you used. Search on Google (or other search engines) for the most updated guides.
- In VirtualBox, this feature requires Guest Additions,
- In VMware, it requires VMware Tools
Once enabled, the shared folder appears as a mounted drive or network location inside the VM, allowing easy access to host files. This is useful for file exchange, for example: you can create a Lucid V2 project in this shared folder and code in your host OS using Alchitry Labs (less lag). Then switch to your VM for building the project using Vivado. Finally, switch back to your host OS to load the binary to the FPGA using Alchitry loader.
When possible, configure your virtual machine to access a USB device so you can load the binary to the FPGA after compilation. Search on Google (or other search engines) for the most updated guides.
x86: Installing Natively
In this guide, we will demonstrate how to install Vivado ML Edition - 2023.2. You are free to install the latest version too: Vivado 2025.2. Both version works.
Please just choose one and just install one version.
This guide assumes you select Vivado ML Edition - 2023.2. It works the same for other newer versions too.
Vivado ML Edition - 2023.2
You are free to install the latest version too: Vivado 2025.2. Both version works. We are just using version 2023.2 as part of this guide.
Create an AMD account first.
Then, download Vivado ML Edition - 2023.2 self-extracting web installer, select version from the left tab (Windows / Linux only).
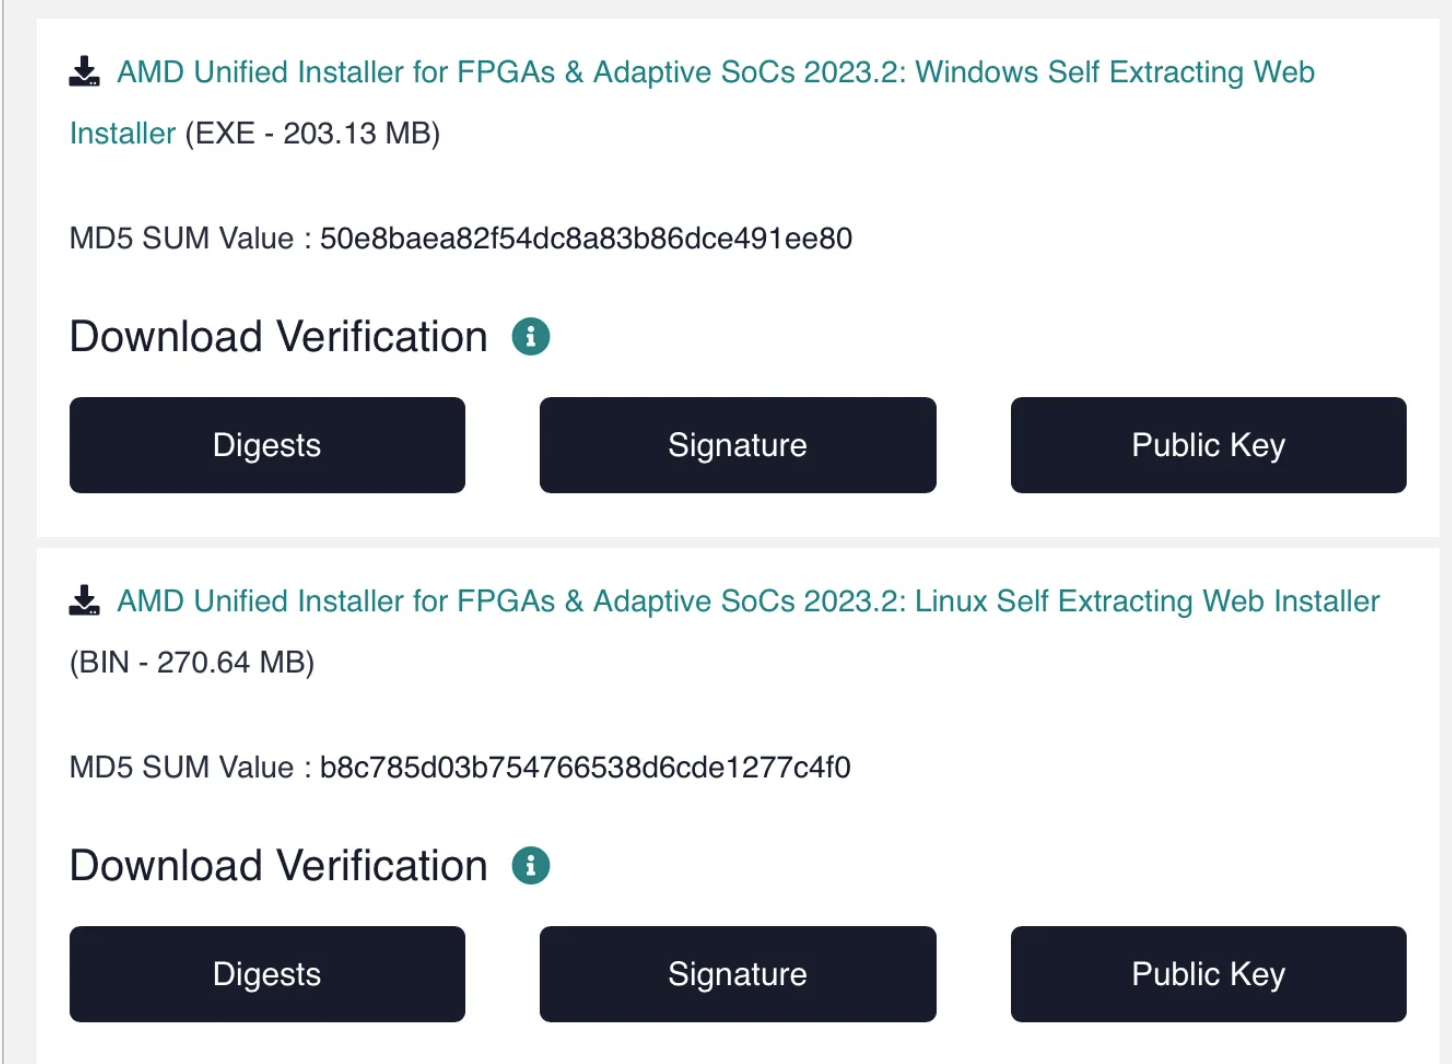
Windows users: Extract and open the downloaded installer as per normal.
Linux users: Once the installer is downloaded, open Terminal and type the following to make the .bin executable, and run it.
cd ~/Downloads
chmod +x FPGA[press TAB for autocompletion]

# then run
./FPGA[press TAB]
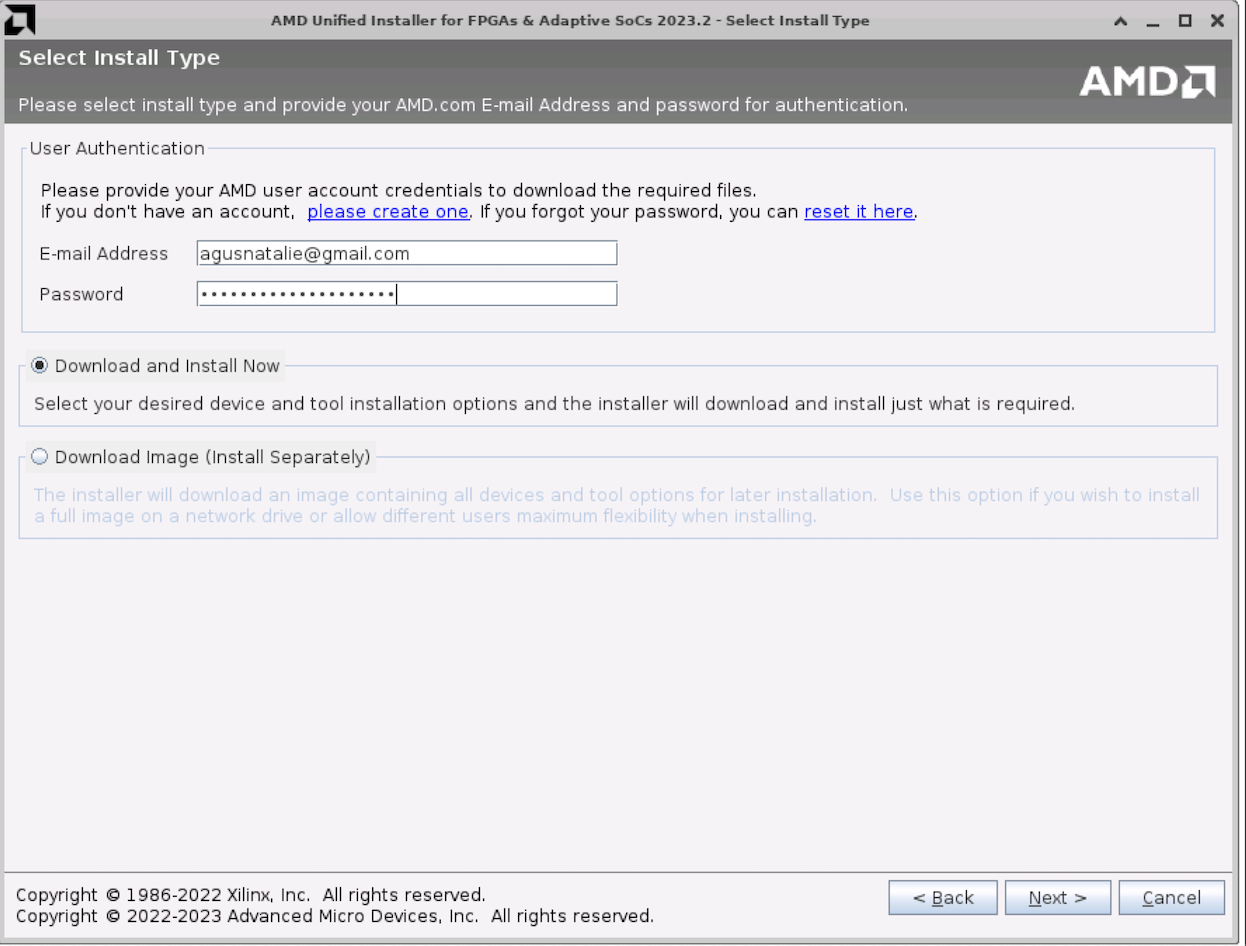
Sign in with the AMD account you created earlier:
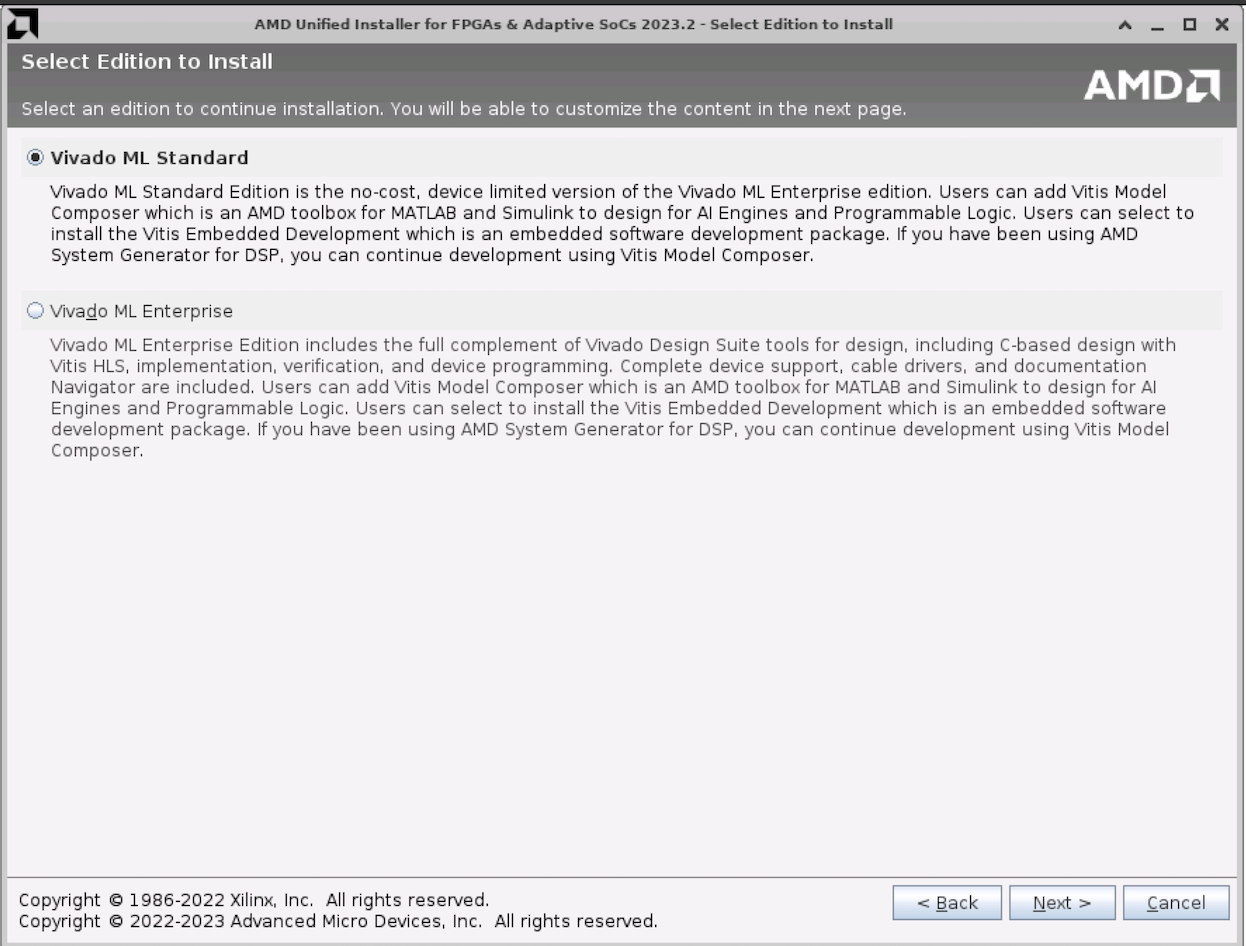
Then select Vivado:
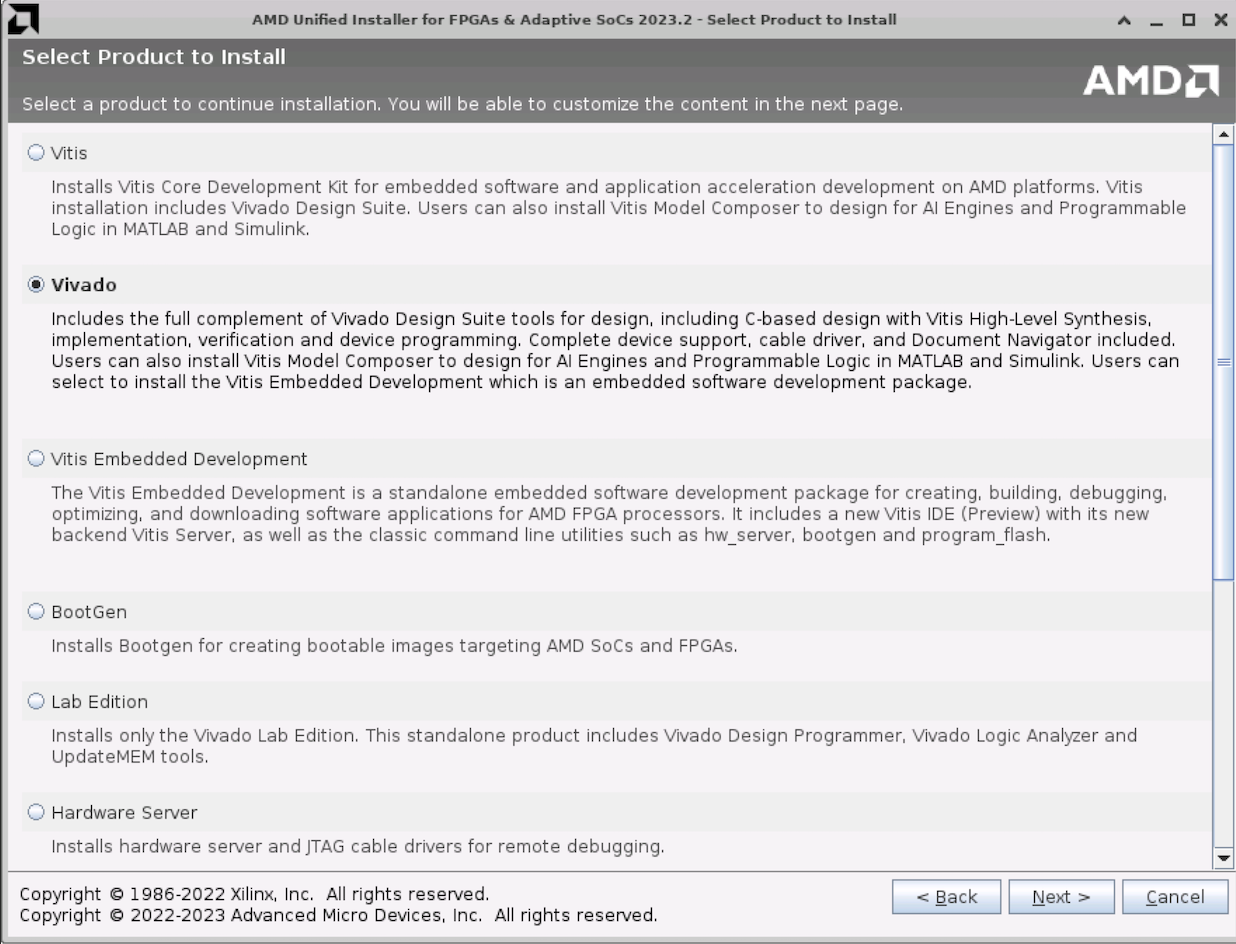
Choose Vivado ML Standard (this is the free version). For other versions, ensure you select whichever is the free version. That’s sufficient.
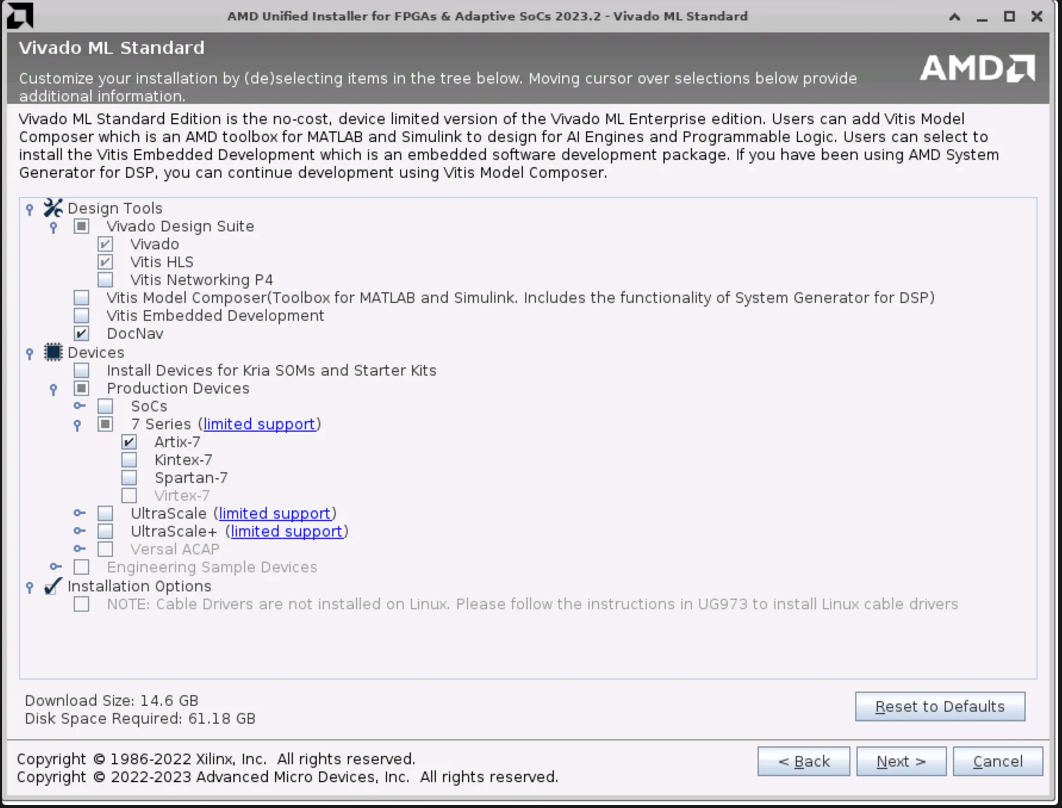
Only tick these packages to install (we don’t need everything, you can save some space):
- Vivado Design Suite: Vivado, Vitis HLS
- DocNav
- Artix-7
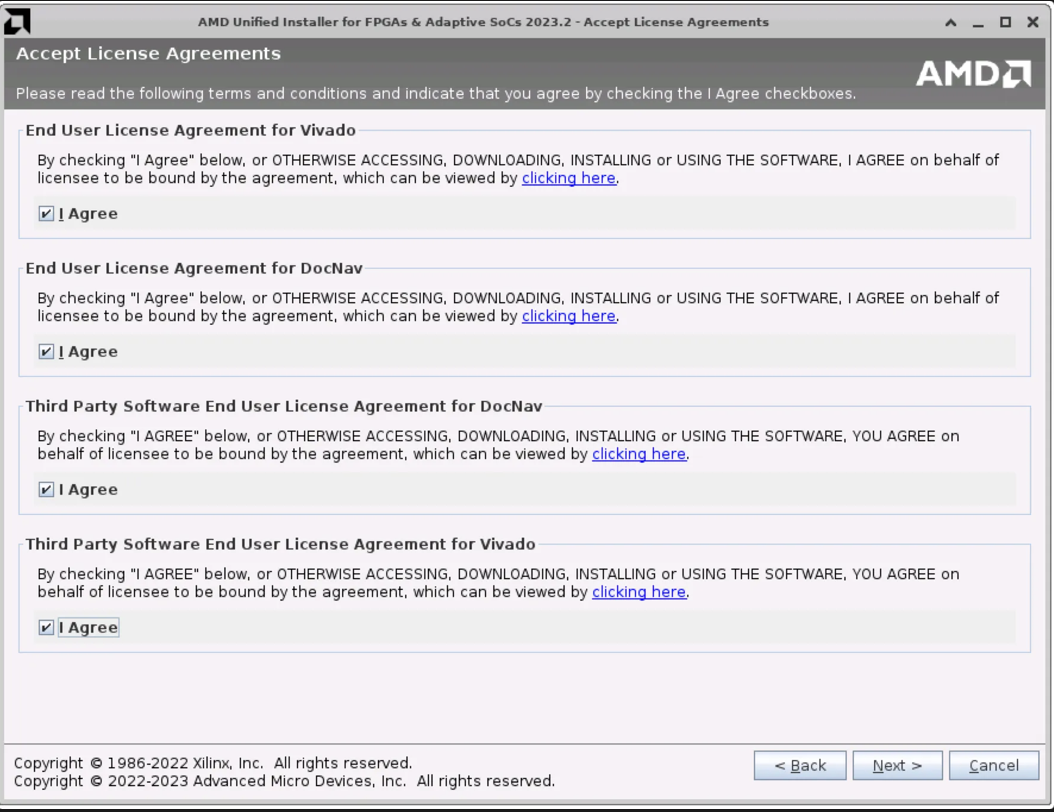
Next, tick all the license agreements:
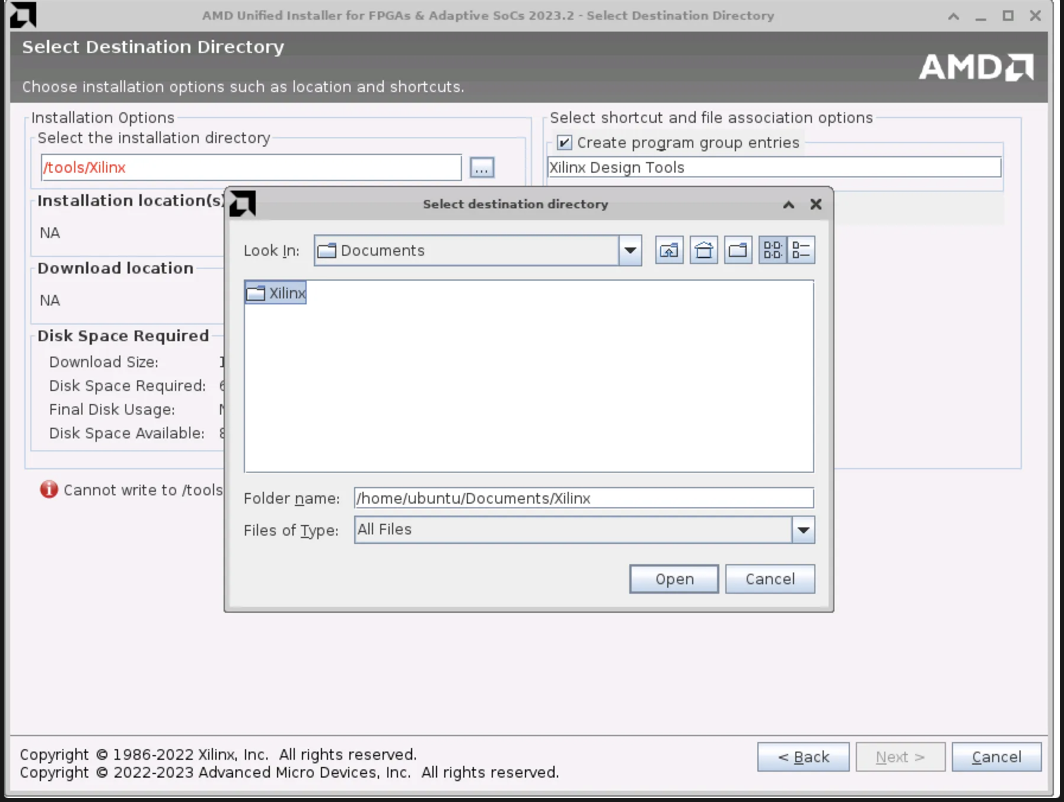
Then create installation an directory. Here we create a new folder called Xilinx under ~/Documents:
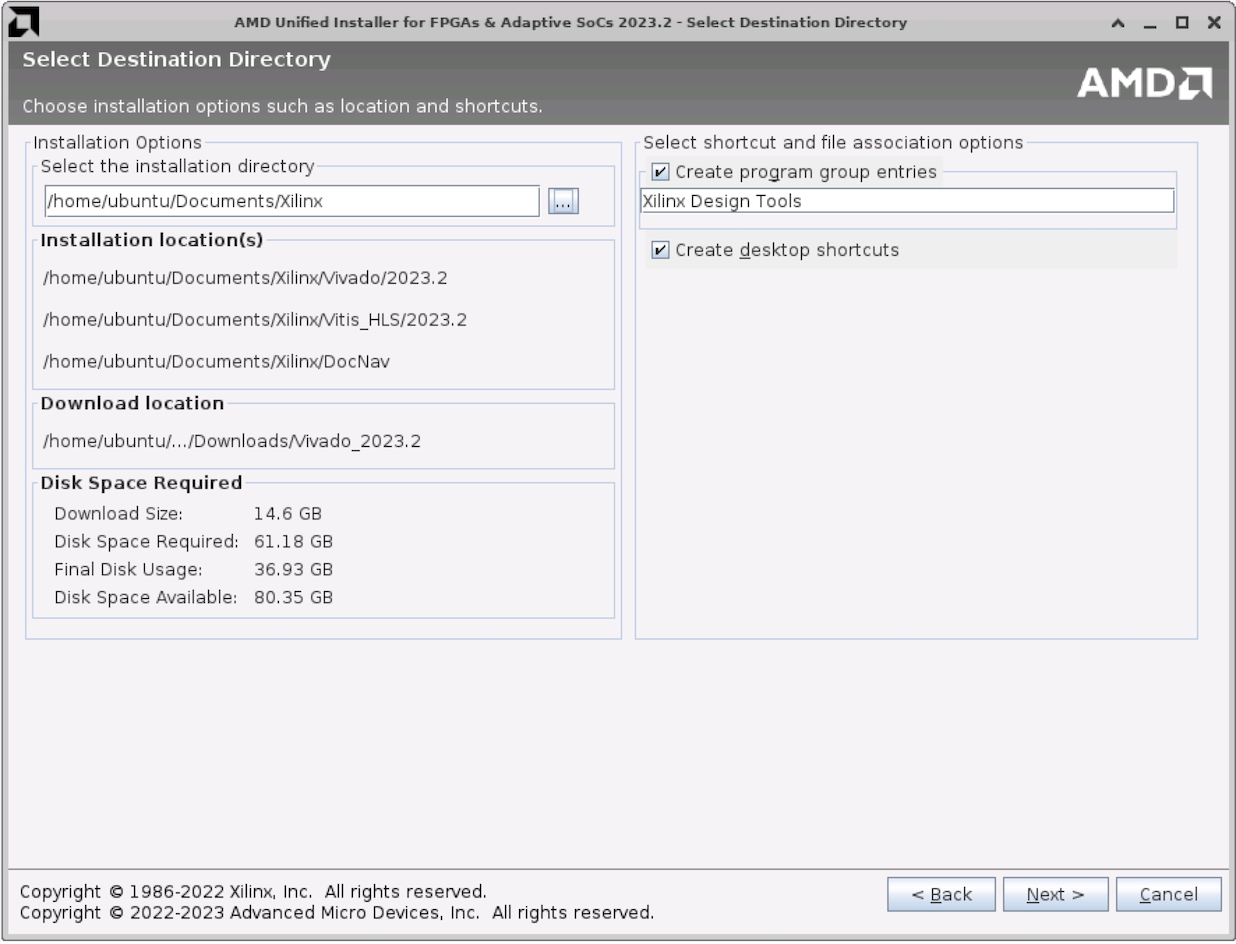
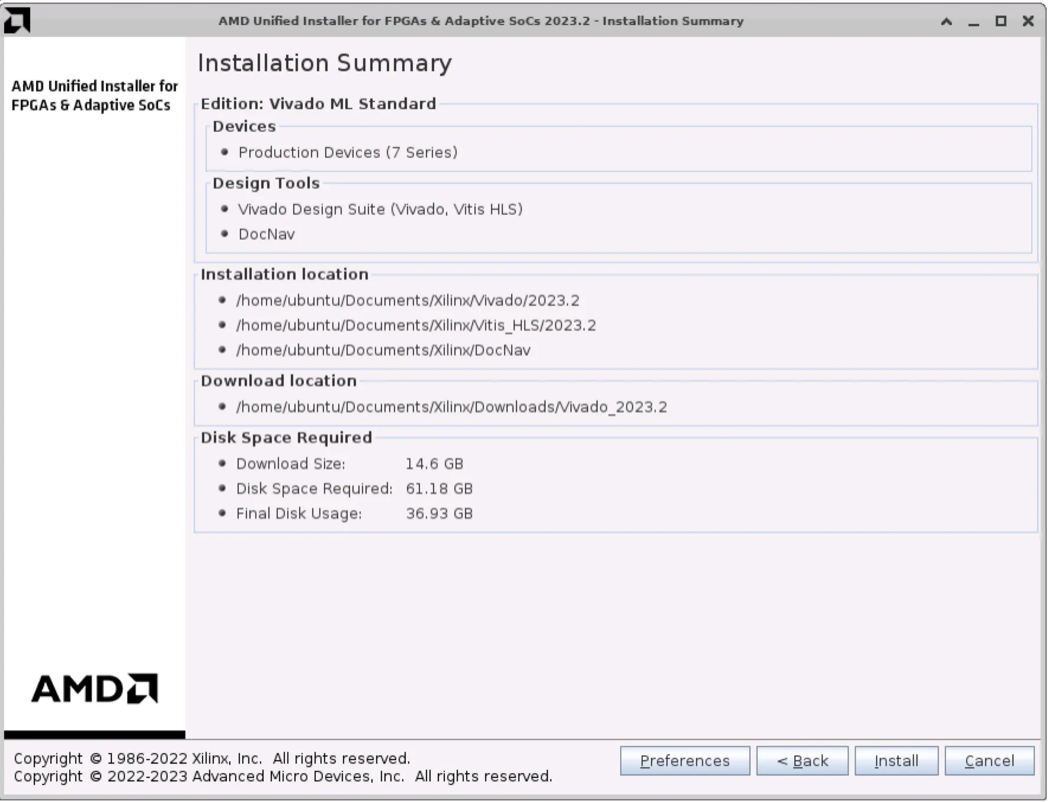
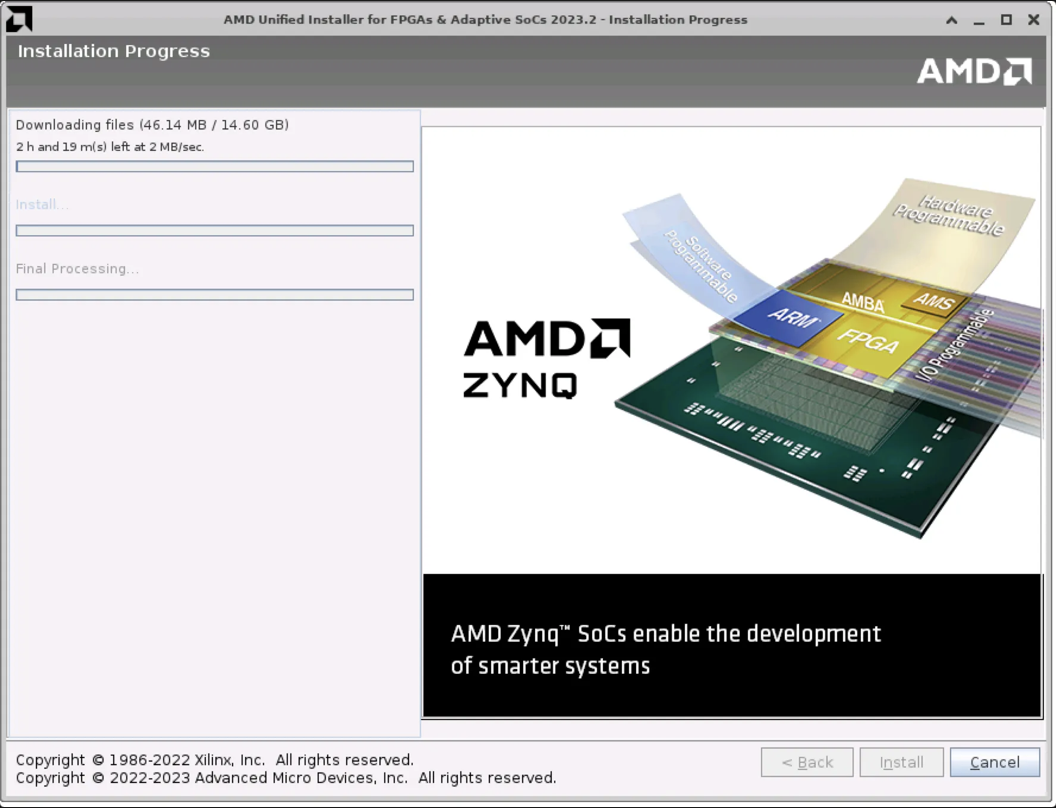
After that click install:
It might take approximately 2-3 hours for installation to complete.
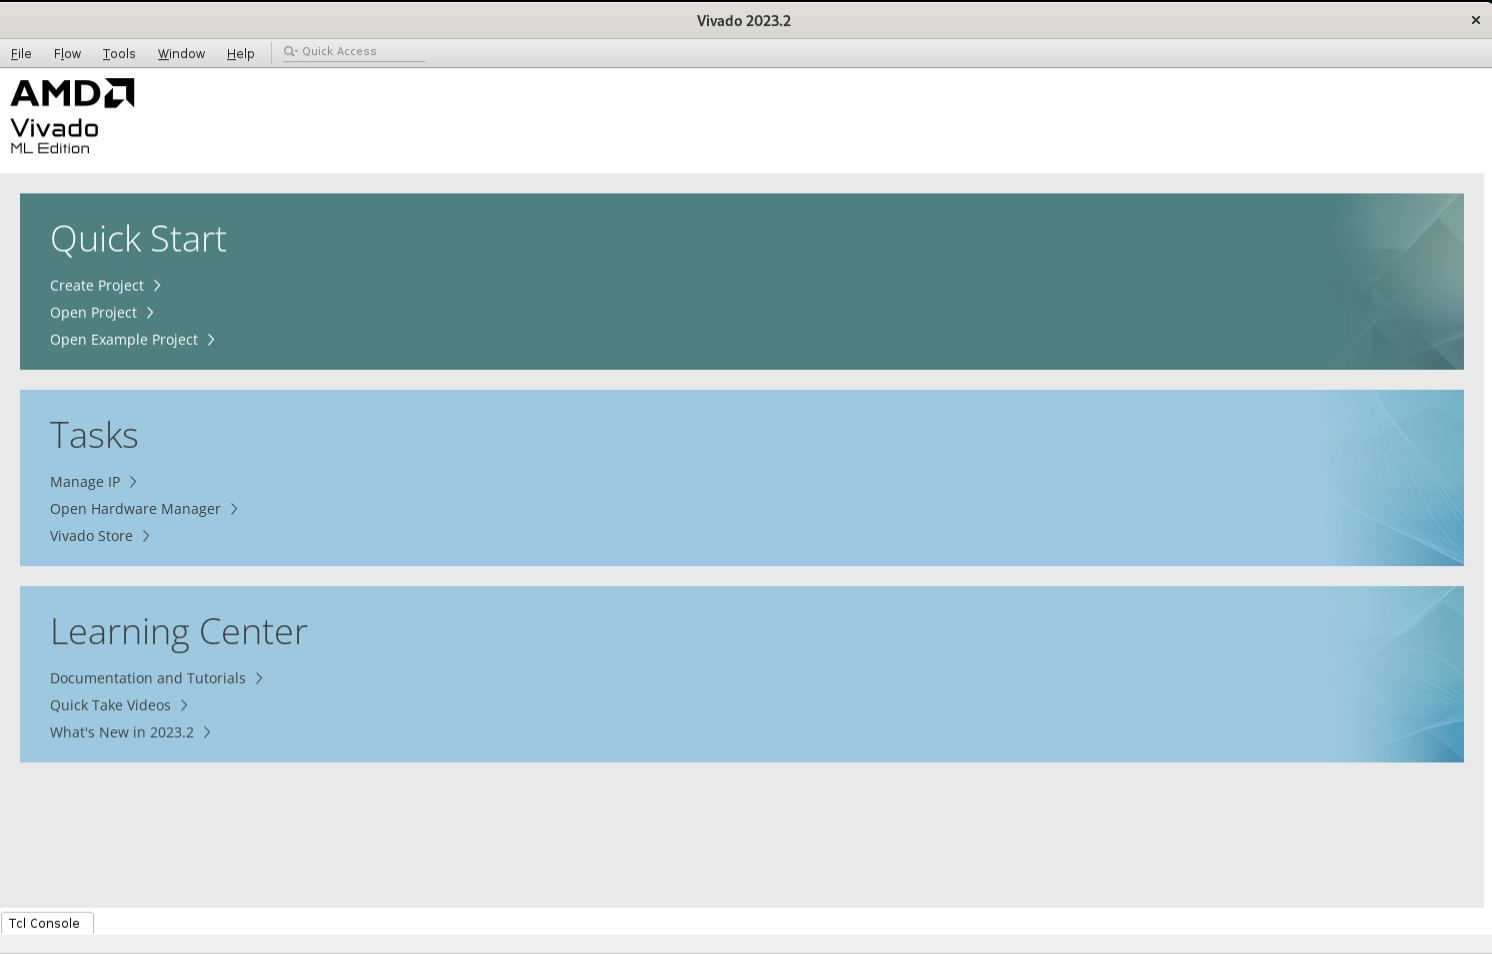
Finally, ensure that Vivado is installed properly (you can open the app afterwards):
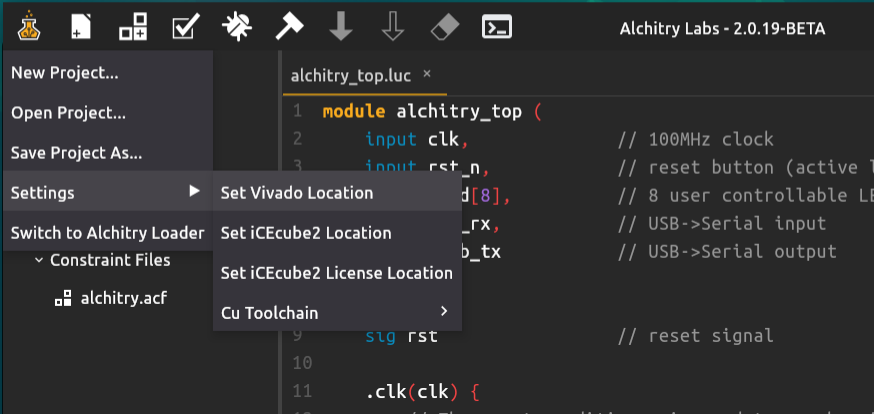
Set Vivado Location
Set the Vivado installation location you did earlier in Alchitry Lab. It should be something like this [VIVADO_INSTALLATION_DIRECTORY ]/Vivado/[VERSION]. In this example, we installed Vivado ML Edition 2023.2 in /mnt/vivado, and hence the location to select in Alchitry is /mnt/vivado/Vivado/2023.2.

Create a test project and build
After Vivado location is set, you can test build a project by creating a basic project from any given template:
Ensure you select Alchitry Au as the board, and not Alchitry Au V2!

Then click the build (hammer) button:

If Vivado location is set properly, you should see the message Starting Vivado...:
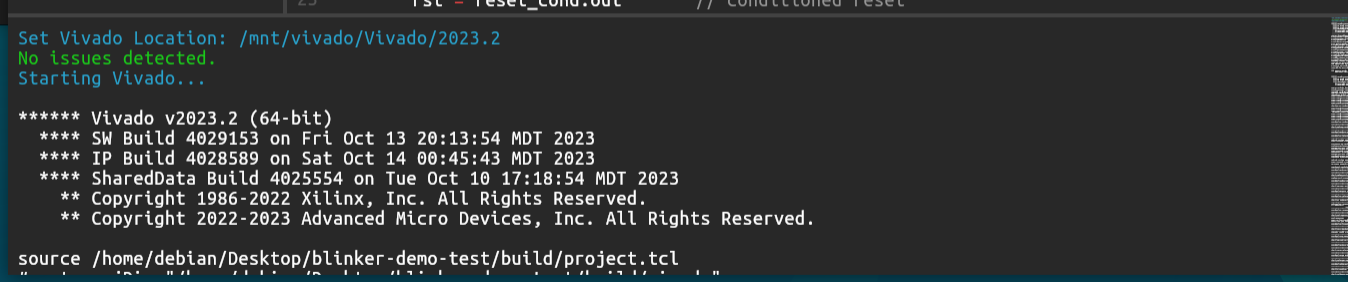
Synthesis takes quite some time (3-10 minutes). This is normal.
When synthesis is done, you should see the message Finished building project:

Debug Log
If project building fails, copy the debug log and search for the word
ERROR. This might give you some clue on which module went wrong.
Load to FPGA
Connect the FPGA board to your computer. It should detect the board automatically.
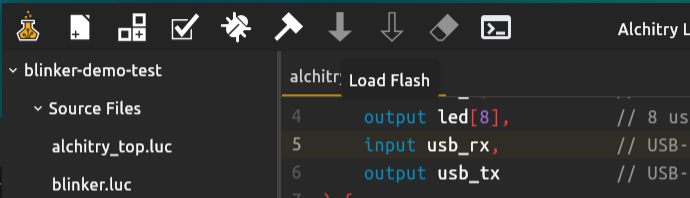
You can load the binary to the Alchitry Au FPGA using the solid arrow button (load flash, persistent) or the hollow arrow button (load RAM, not persistent upon reboot of FPGA).
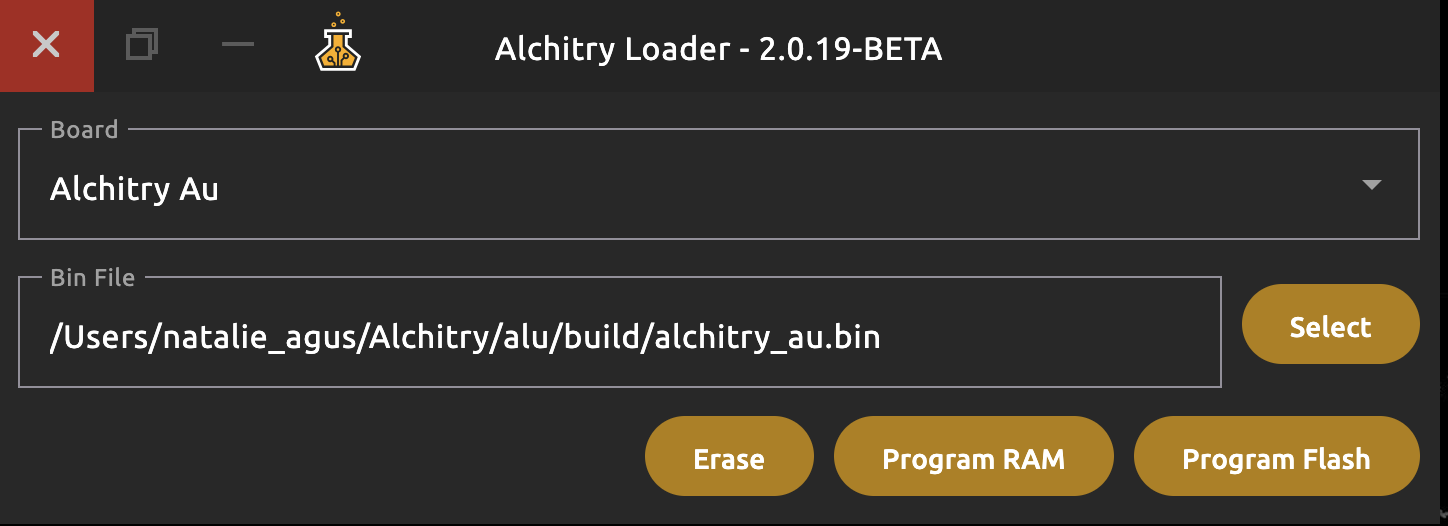
Using Alchitry Loader
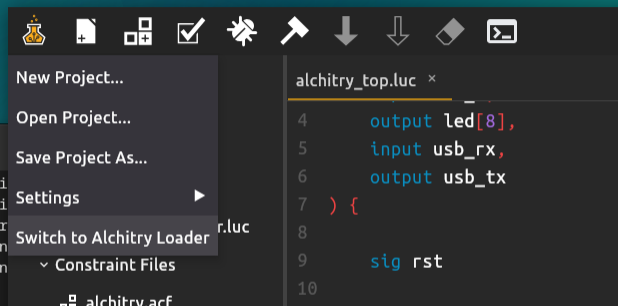
You can also load the binary to your FPGA using Alchitry Loader. It works the same as pressing the arrow button in Alchitry Labs.
- Alchitry Loader is useful for macOS users who cannot synthesise the binary natively, and can only load flash/RAM after synthesizing the binary elsewhere.
- It is also useful for users that use VMs to compile the binary using Vivado from the VM, and then load the compiled binary (in the shared folder) using Alchitry Loader