50.002 CS
- System Requirement
- Installation Steps
- Loading .bin from your mac to Alchitry Au FPGA
- Updating Alchitry Labs in the VM
- Running Vivado
- VM Crash
Running Vivado on Apple Silicon mac
As of early 2026, there’s no officially supported way to run Vivado on Apple Silicon mac. We have managed to run Vivado + Alchitry Lab V2 on Debian 12 + Rosetta, running on UTM (virtual machines for Apple Silicon mac). This document shares how you can download the prepared image and run it using UTM.
System Requirement
Apple Silicon mac with least 16 GB of RAM and 200GB of free space for both downloading and unzipping (final free space needed: 140GB). You can use an external SSD + thunderbolt connection for this, directly store the VM image for usage, no need to migrate it to your machine.
This method is tested on M2 Max Mac Studio and 15” M2 Macbook Air.
Installation Steps
Download UTM
You need to first download UTM. You can also use brew for this:
brew update
brew install --cask utm
Download the VM Image
After that, download the VM Image from here
- You need to be signed in to your SUTD account
- This image comes with Debian 12, Rosetta, Vivado 2025.2, Alchitry Labs V2 pre-installed (2.0.52 Beta)
Unzip
Then unzip the downloaded file, either using Finder or CLI:
unzip <source.zip> -d <destination_directory>
It is recommended that you download this to an external drive, and then unzip and store the unzipped .utm file to your computer. This process will take about 10-20 minutes because the size of the image is rather large (approx 40GB). You might want to move it out of your Downloads folder and put it somewhere more practical. This image will contain all your virtual machine’s data.
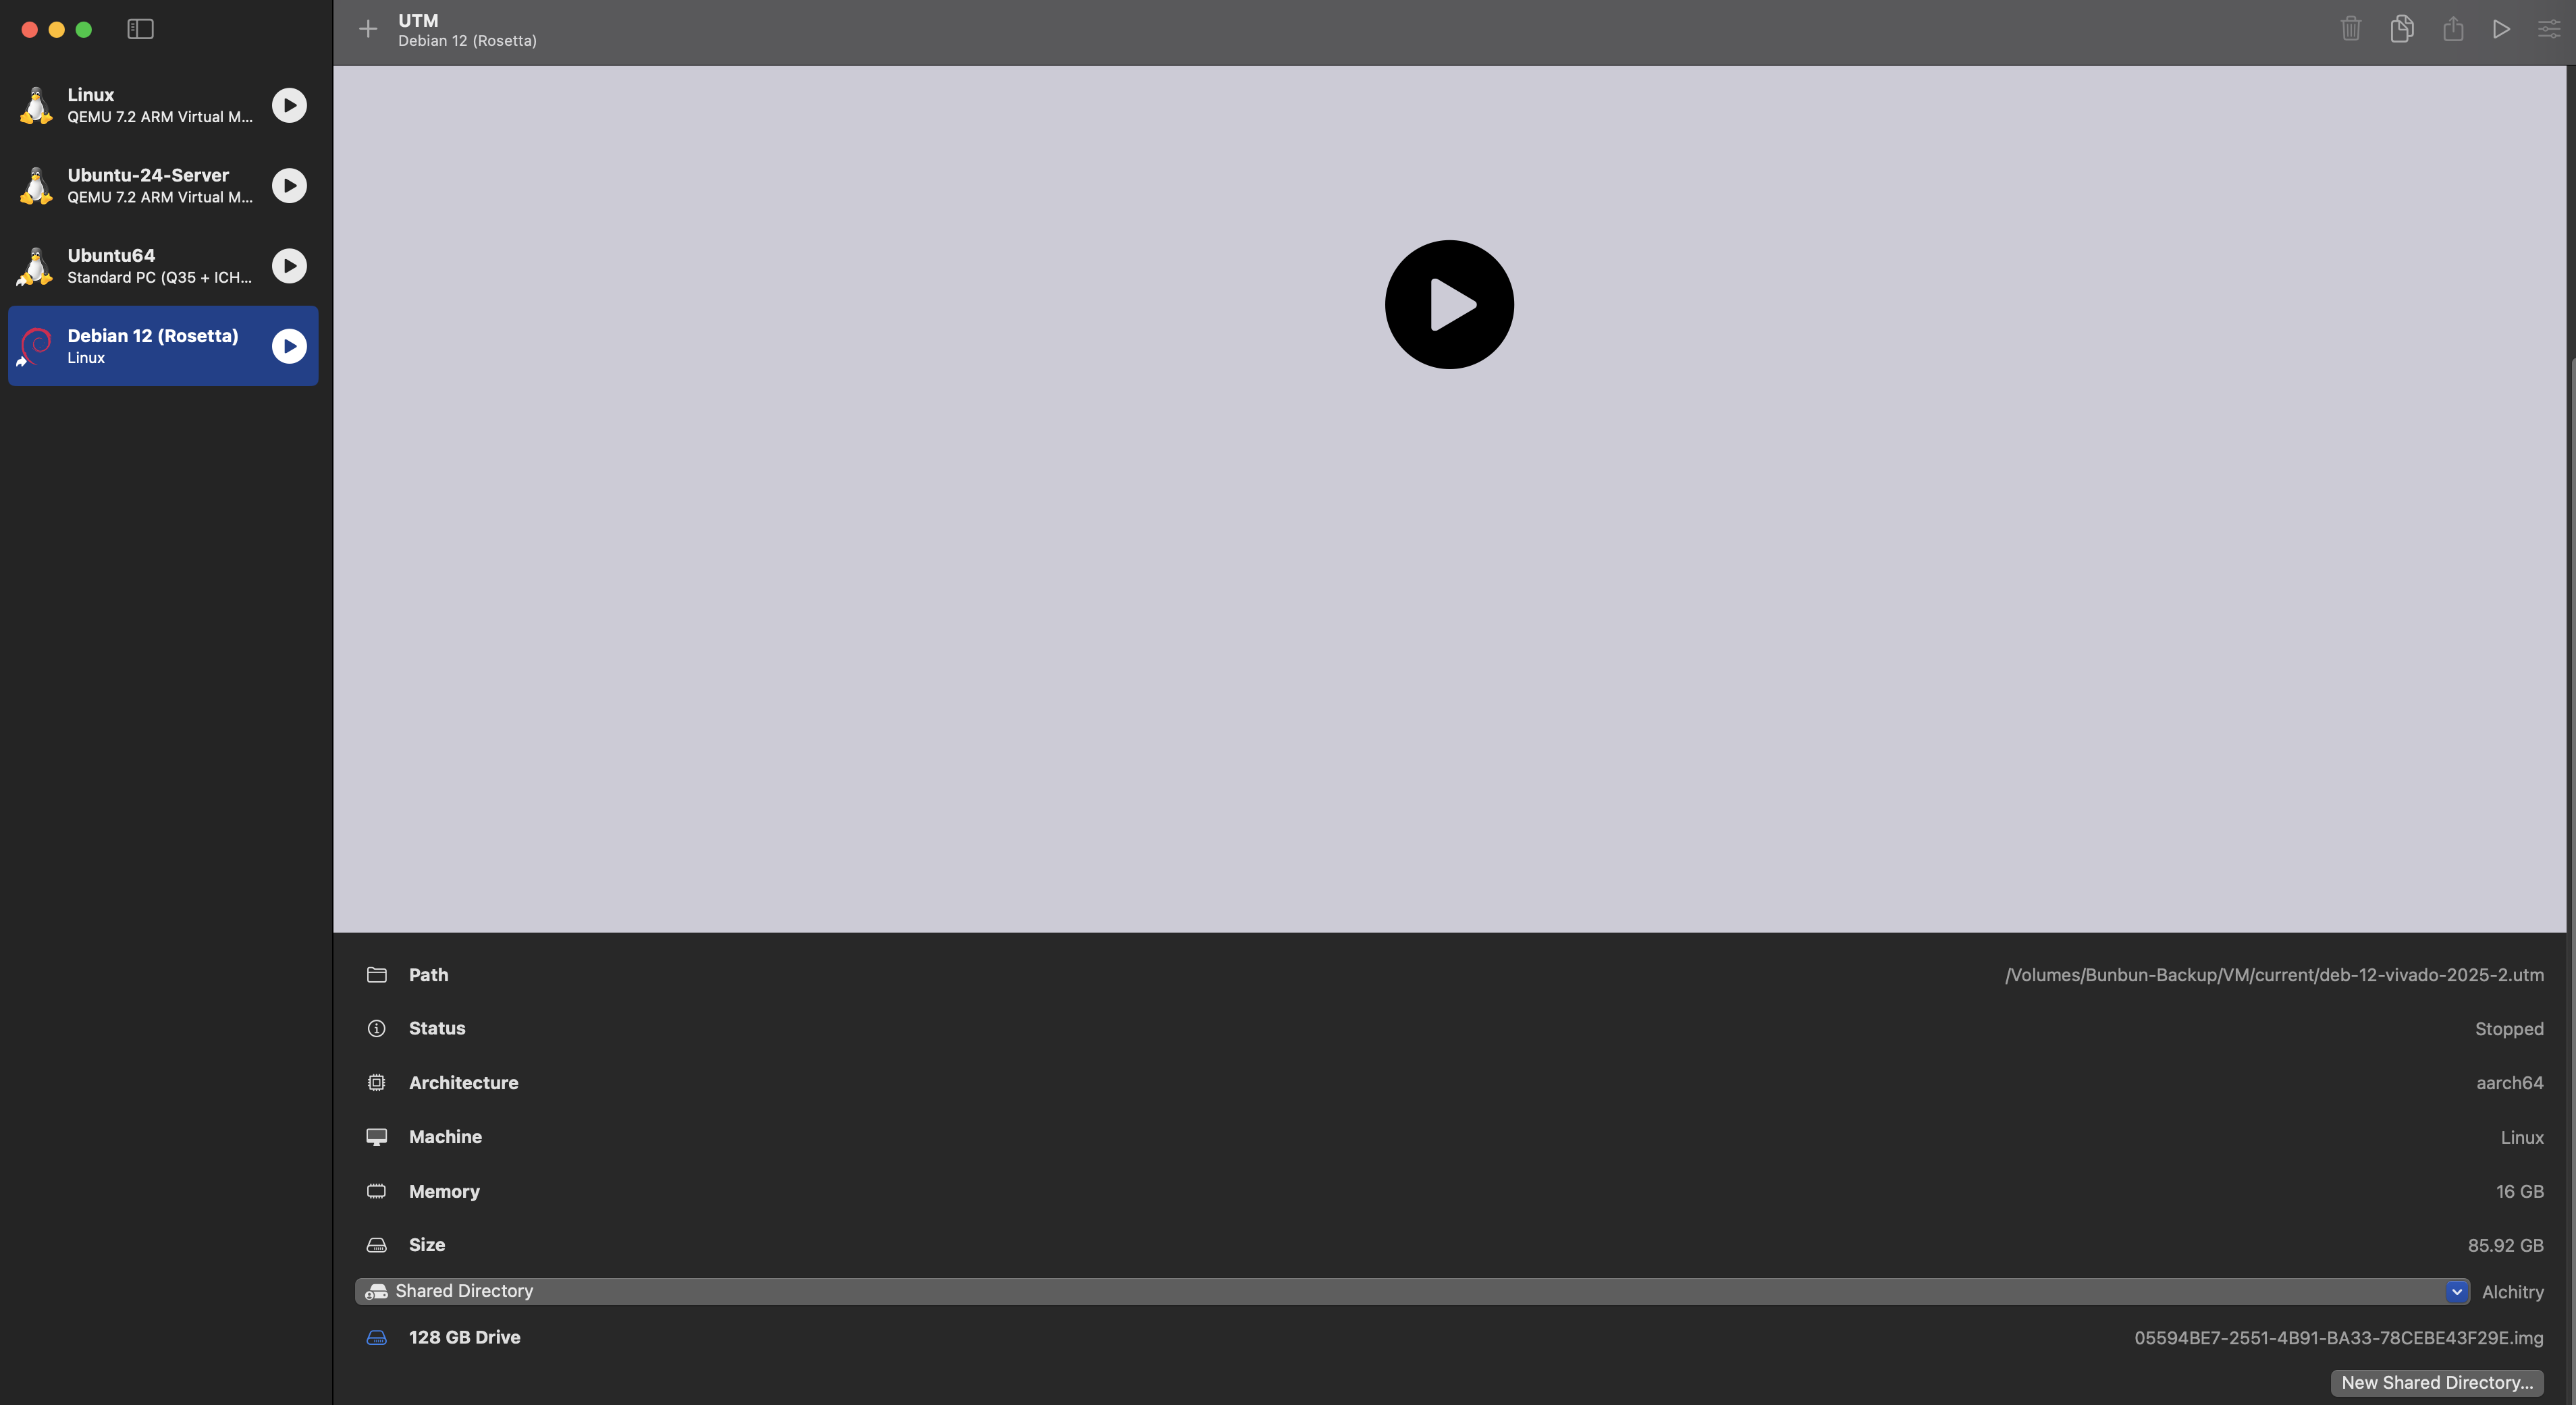
Start the VM
Once done, open UTM and import the image.
Share Directories with Host Machine
You can share directories with your mac (host machine) by setting the desired shared directory in your host machine. You can view the steps here.
Then in Debian (your VM), you can access this directory via the path /media/share/DIRECTORY_NAME, in this case it will be /media/share/alchitry-utm.
Login as debian
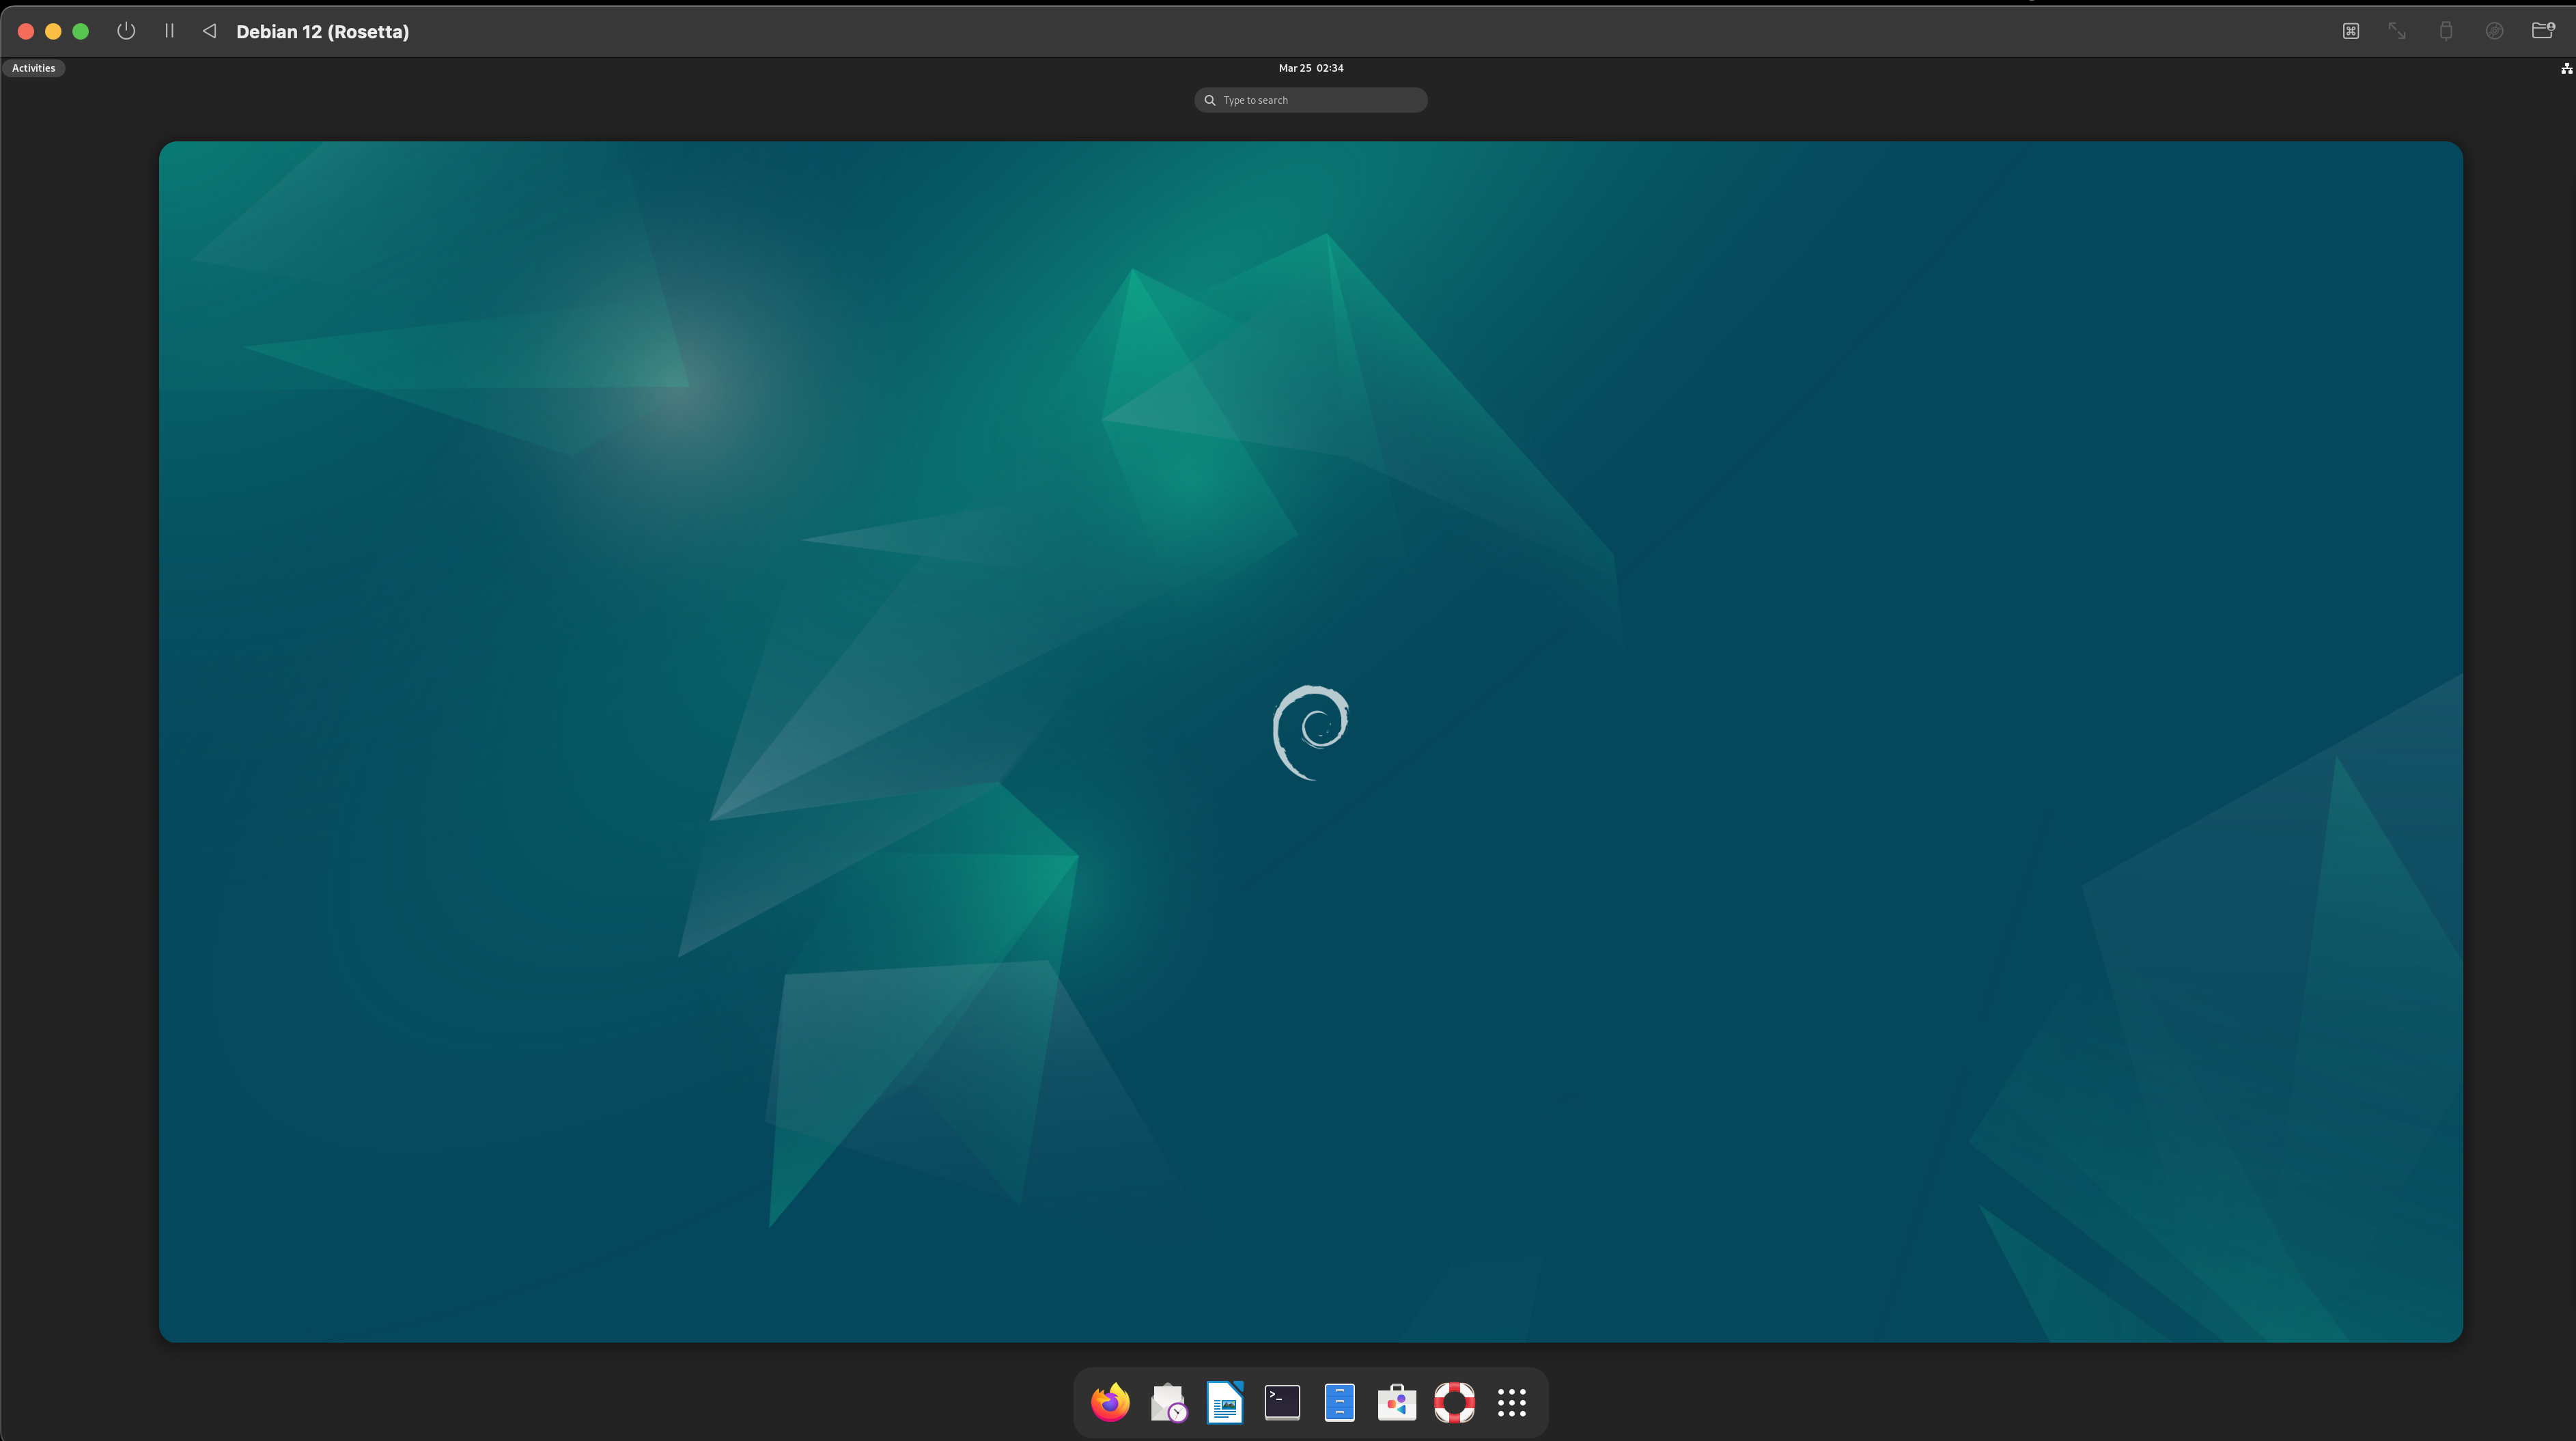
Start the VM and login with the password debian. The sudo password is also debian.
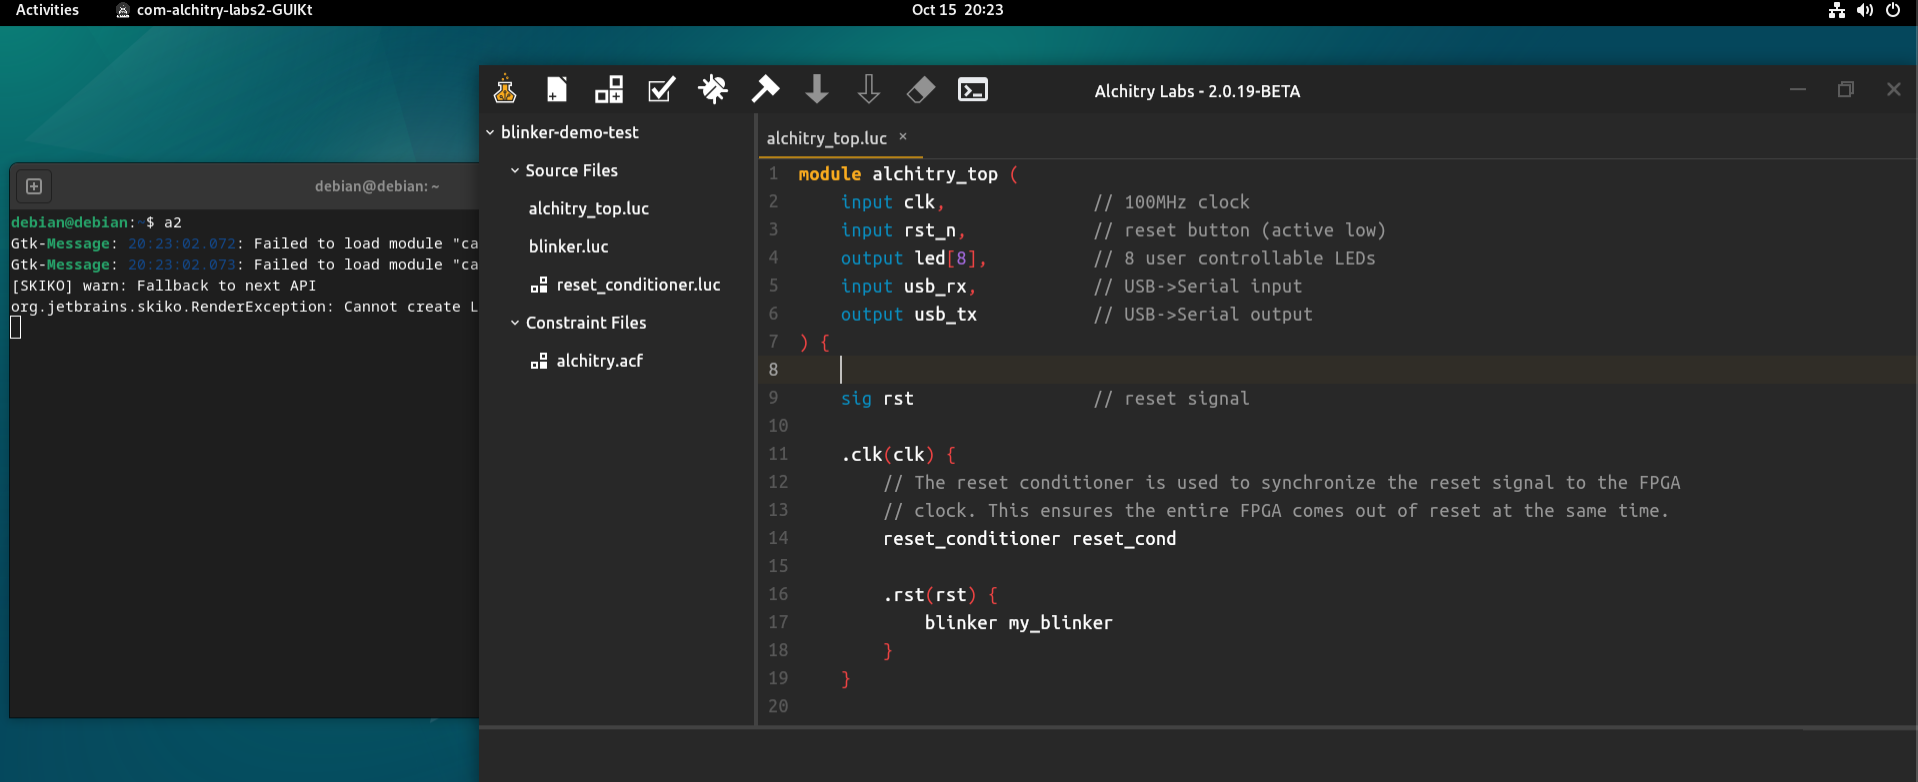
Ensure that your desktop looks like this. If it doesn’t it means that what you have downloaded might be corrupted.
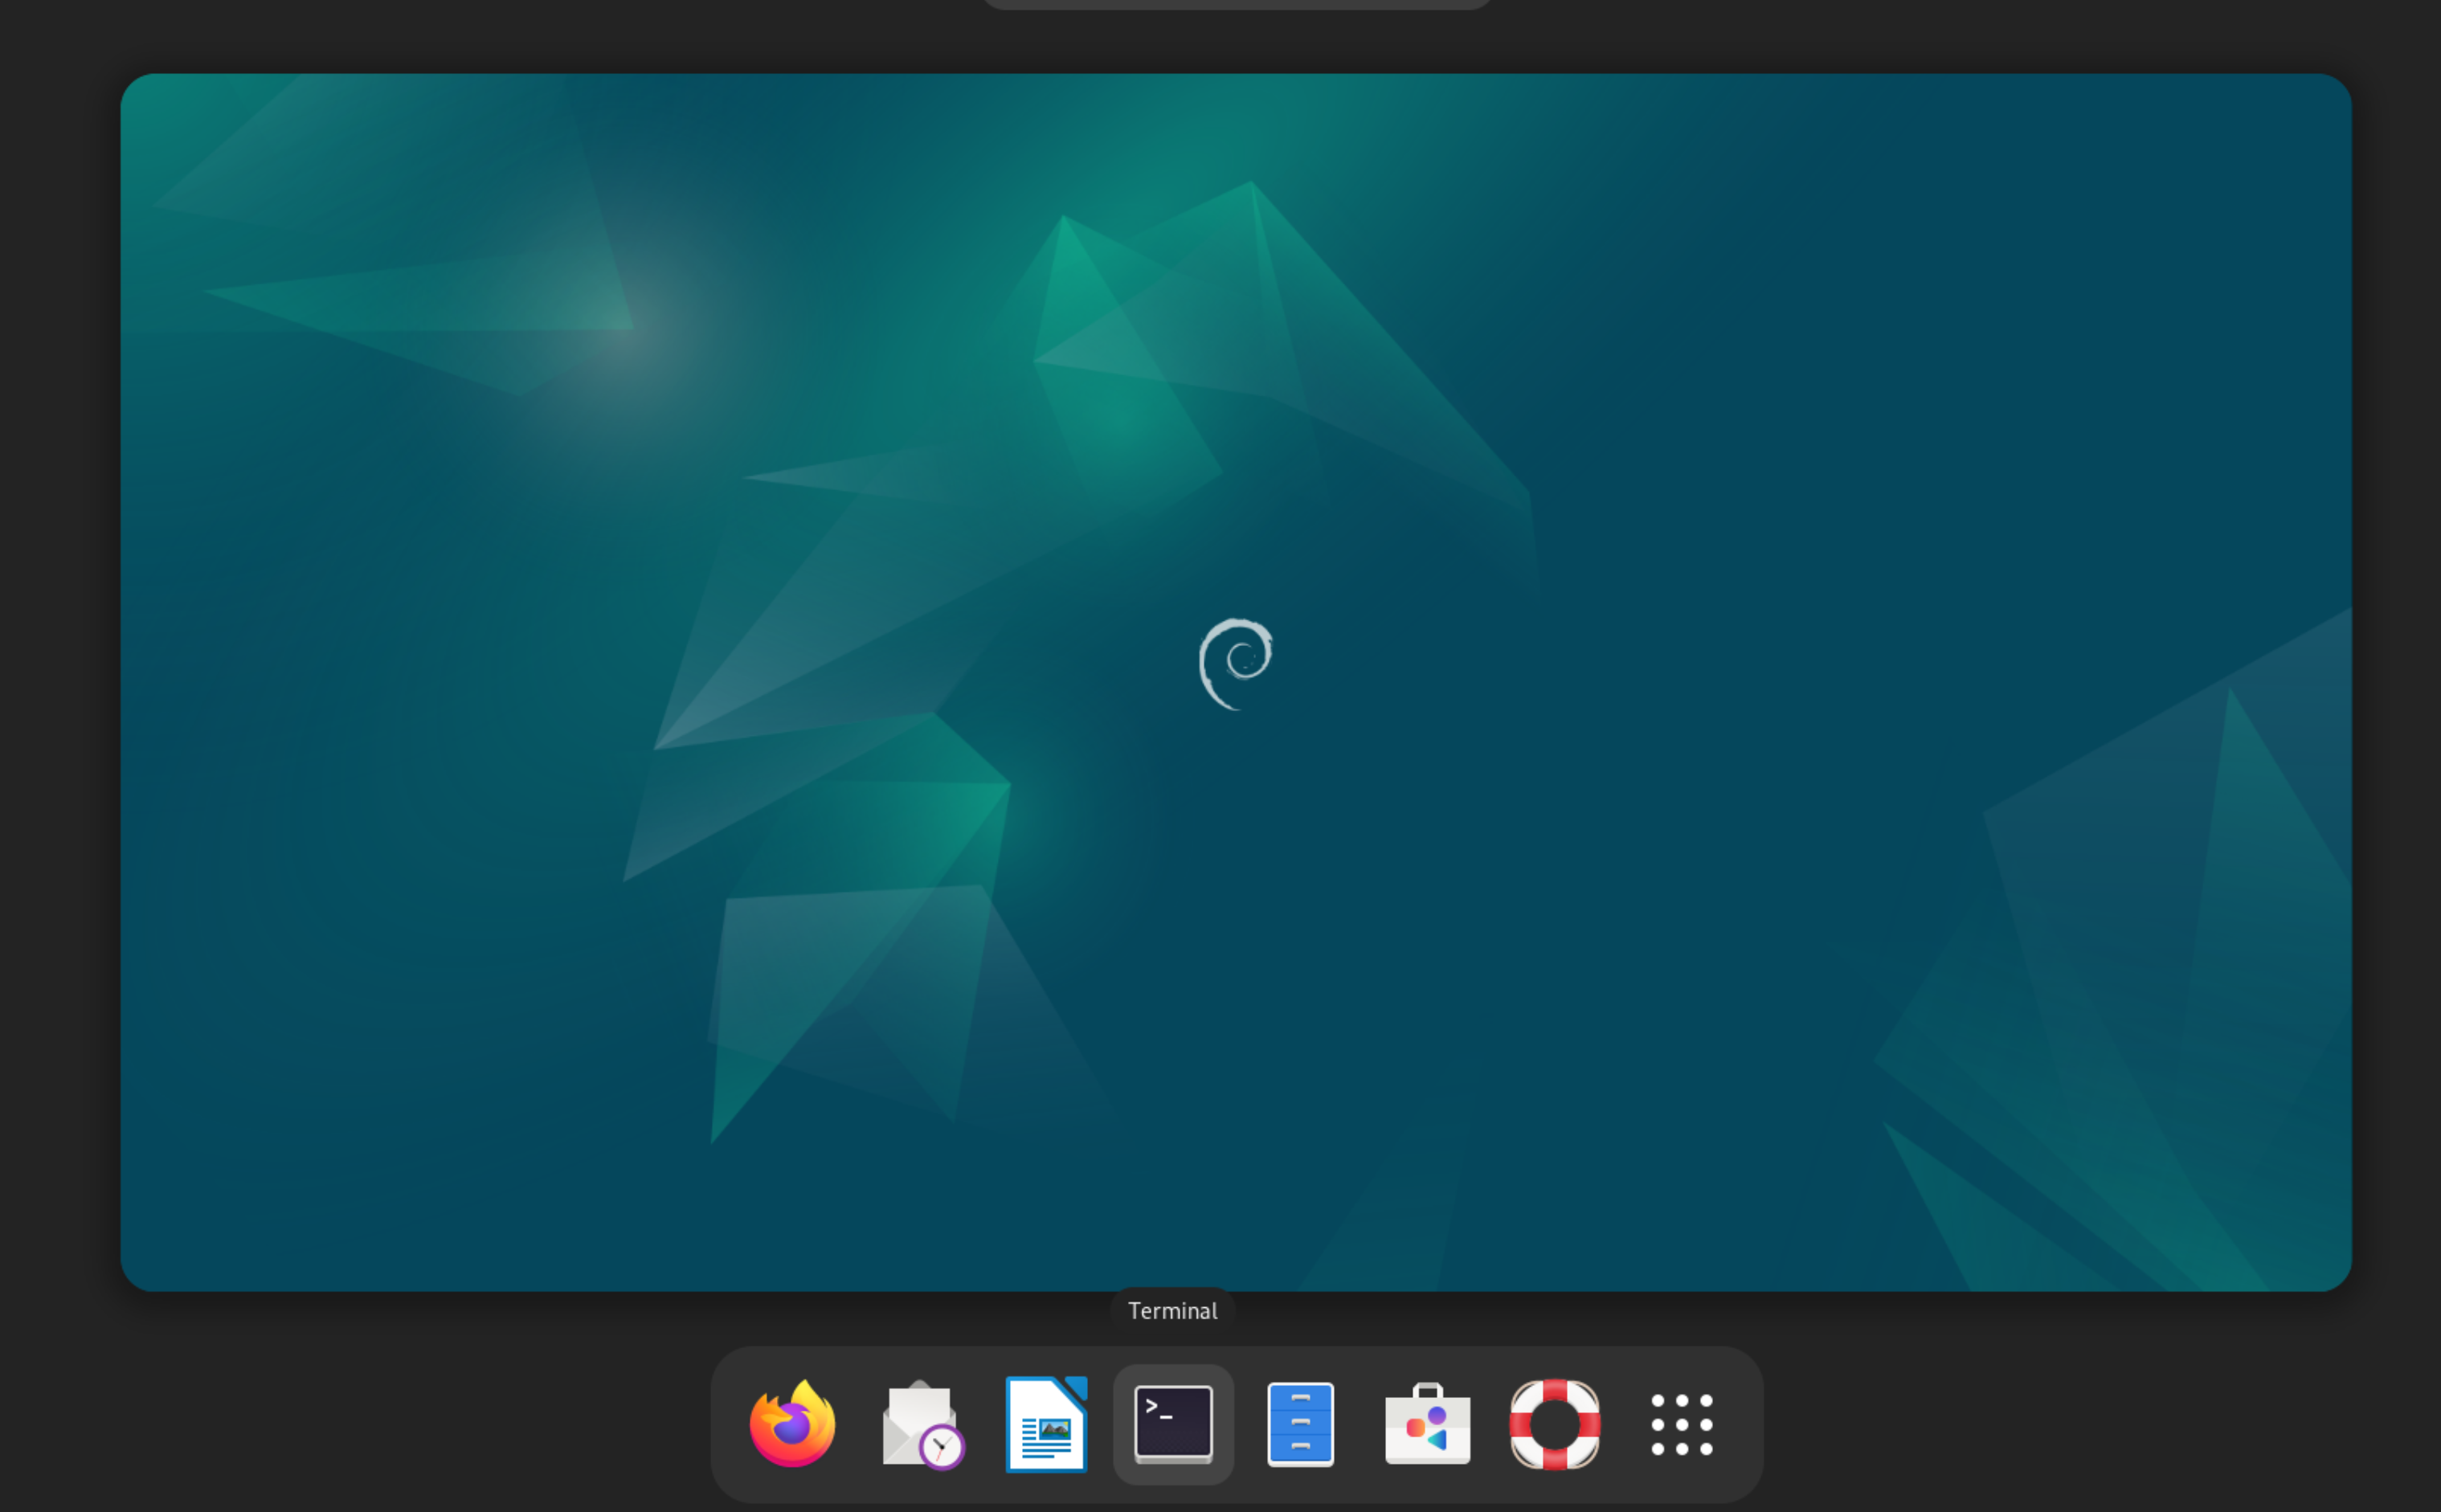
Launching Alchitry Labs 2
Upon login, a terminal window should automatically appear. If not, you can press the CMD button and select it from the dock, or via activities menu on the top left.

You can start alchitry labs by typing the a2 command (an alias that launches the Alchitry Labs V2 binary).
Key in debian as password when prompted.
debian@debian:~$ a2
[sudo] password for debian: [debian]
It will prompt you to create/open new project (first time) or open your last opened project (subsequently).
The VM also comes with legacy Alchitry Labs 1.2.7 (using Lucid V1). You can use command alchitry to spawn it. See ~/.bashrc for details.
Update Alchitry Labs V2
Update the IDE to the latest version (whenever you download the VM). See this section.
Loading .bin from your mac to Alchitry Au FPGA
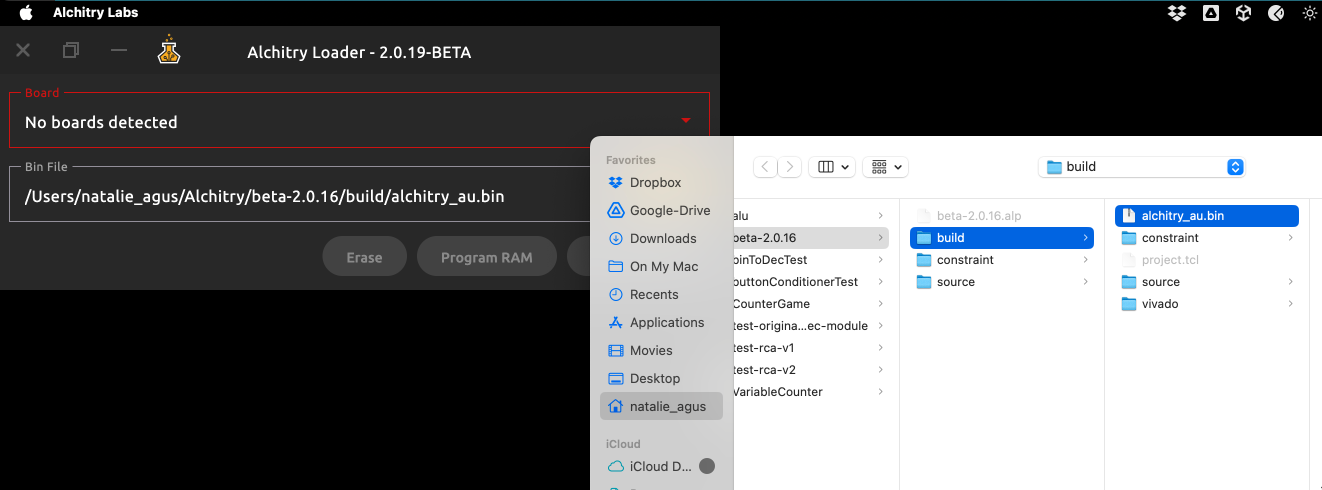
After building your code, you will need to load the binary to your FPGA. There’s no USB passthrough with the VM (it’s not the usual QEMU), so you will need to migrate PROJECT_PATH/build/alchitry_au.bin to your host machine and flash it to your FPGA using Alchitry Loader part of the Alchitry Labs IDE for Apple Silicon.
If you have set up the shared directory above, simply navigate to this location.
Install Alchitry Labs V2 in your host macOS
From this link, install the Alchitry Labs V2 IDE. Follow the installation guide properly and open the app. Here’s the important steps: This application does not prove its origin with a developer signature. To open it:
- Click the download button.
- Note: Do not use the Launchpad to perform the following steps as it will not allow you to access the shortcut menu.
- Open the Finder and locate the application in your Downloads folder.
- Control-click the app icon, then choose Open from the shortcut menu.
- You will see a security warning stating the identity of the app author is unknown. Click Open.
Alchitry Loader
Then switch to Alchitry Loader first:
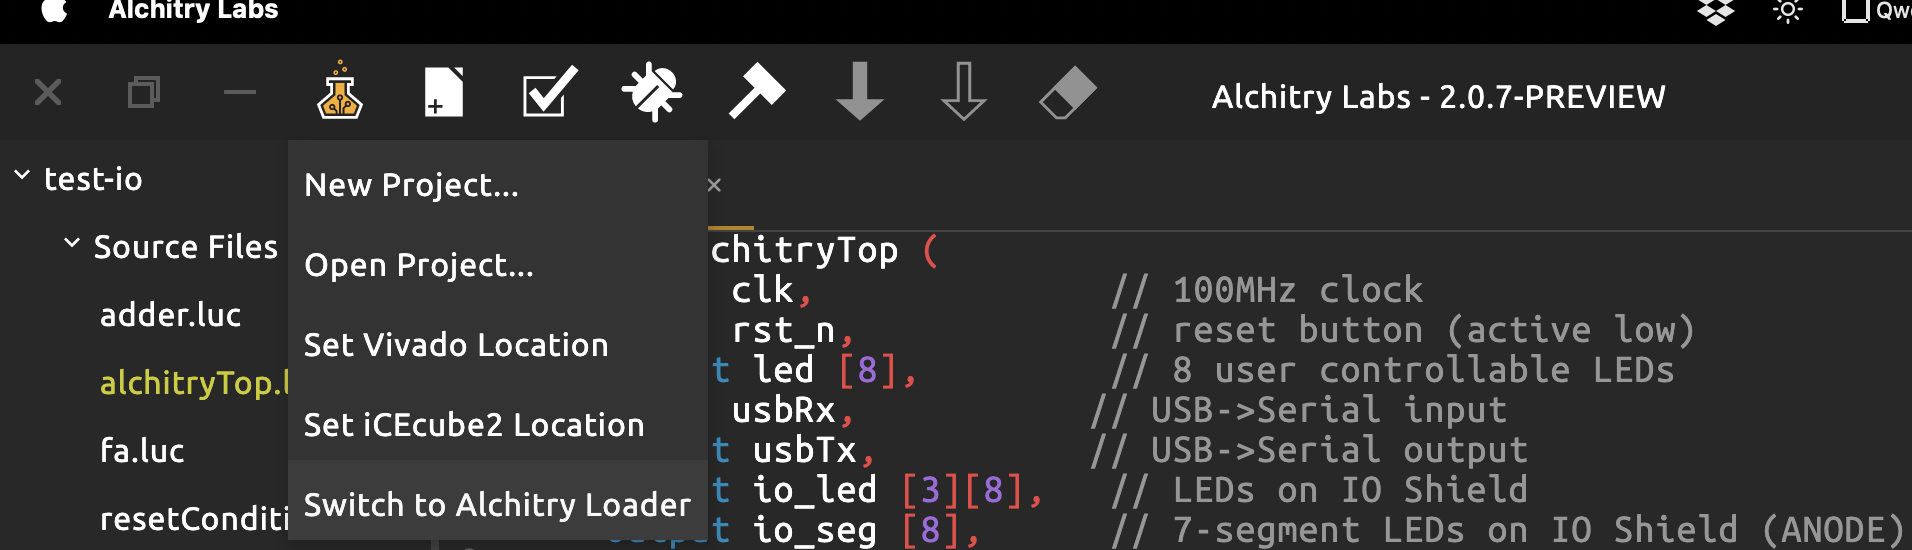
Find the synthesized binary and load it to your Alchitry Au FPGA:
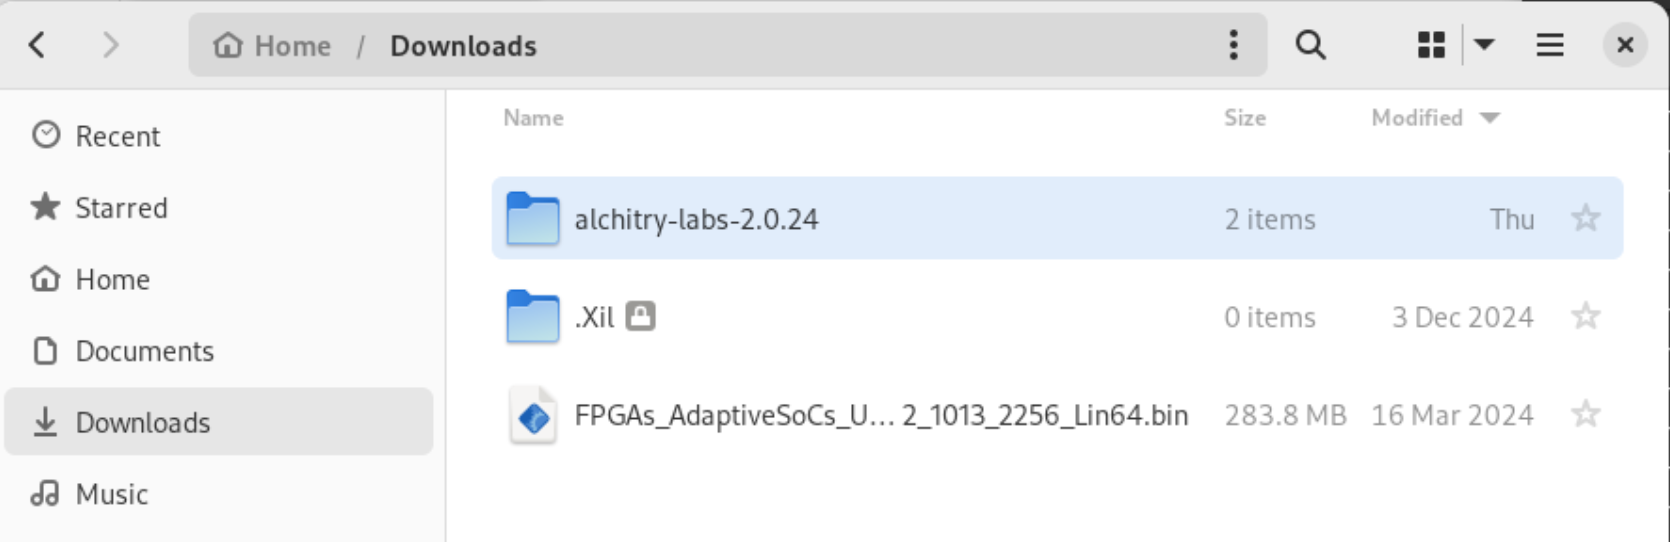
Updating Alchitry Labs in the VM
Delete the old version
Open terminal, navigate to Downloads, and remove the old version of alchitry labs:
cd ~/Downloads
rm -rf alchitry-labs-2*
Download the new version
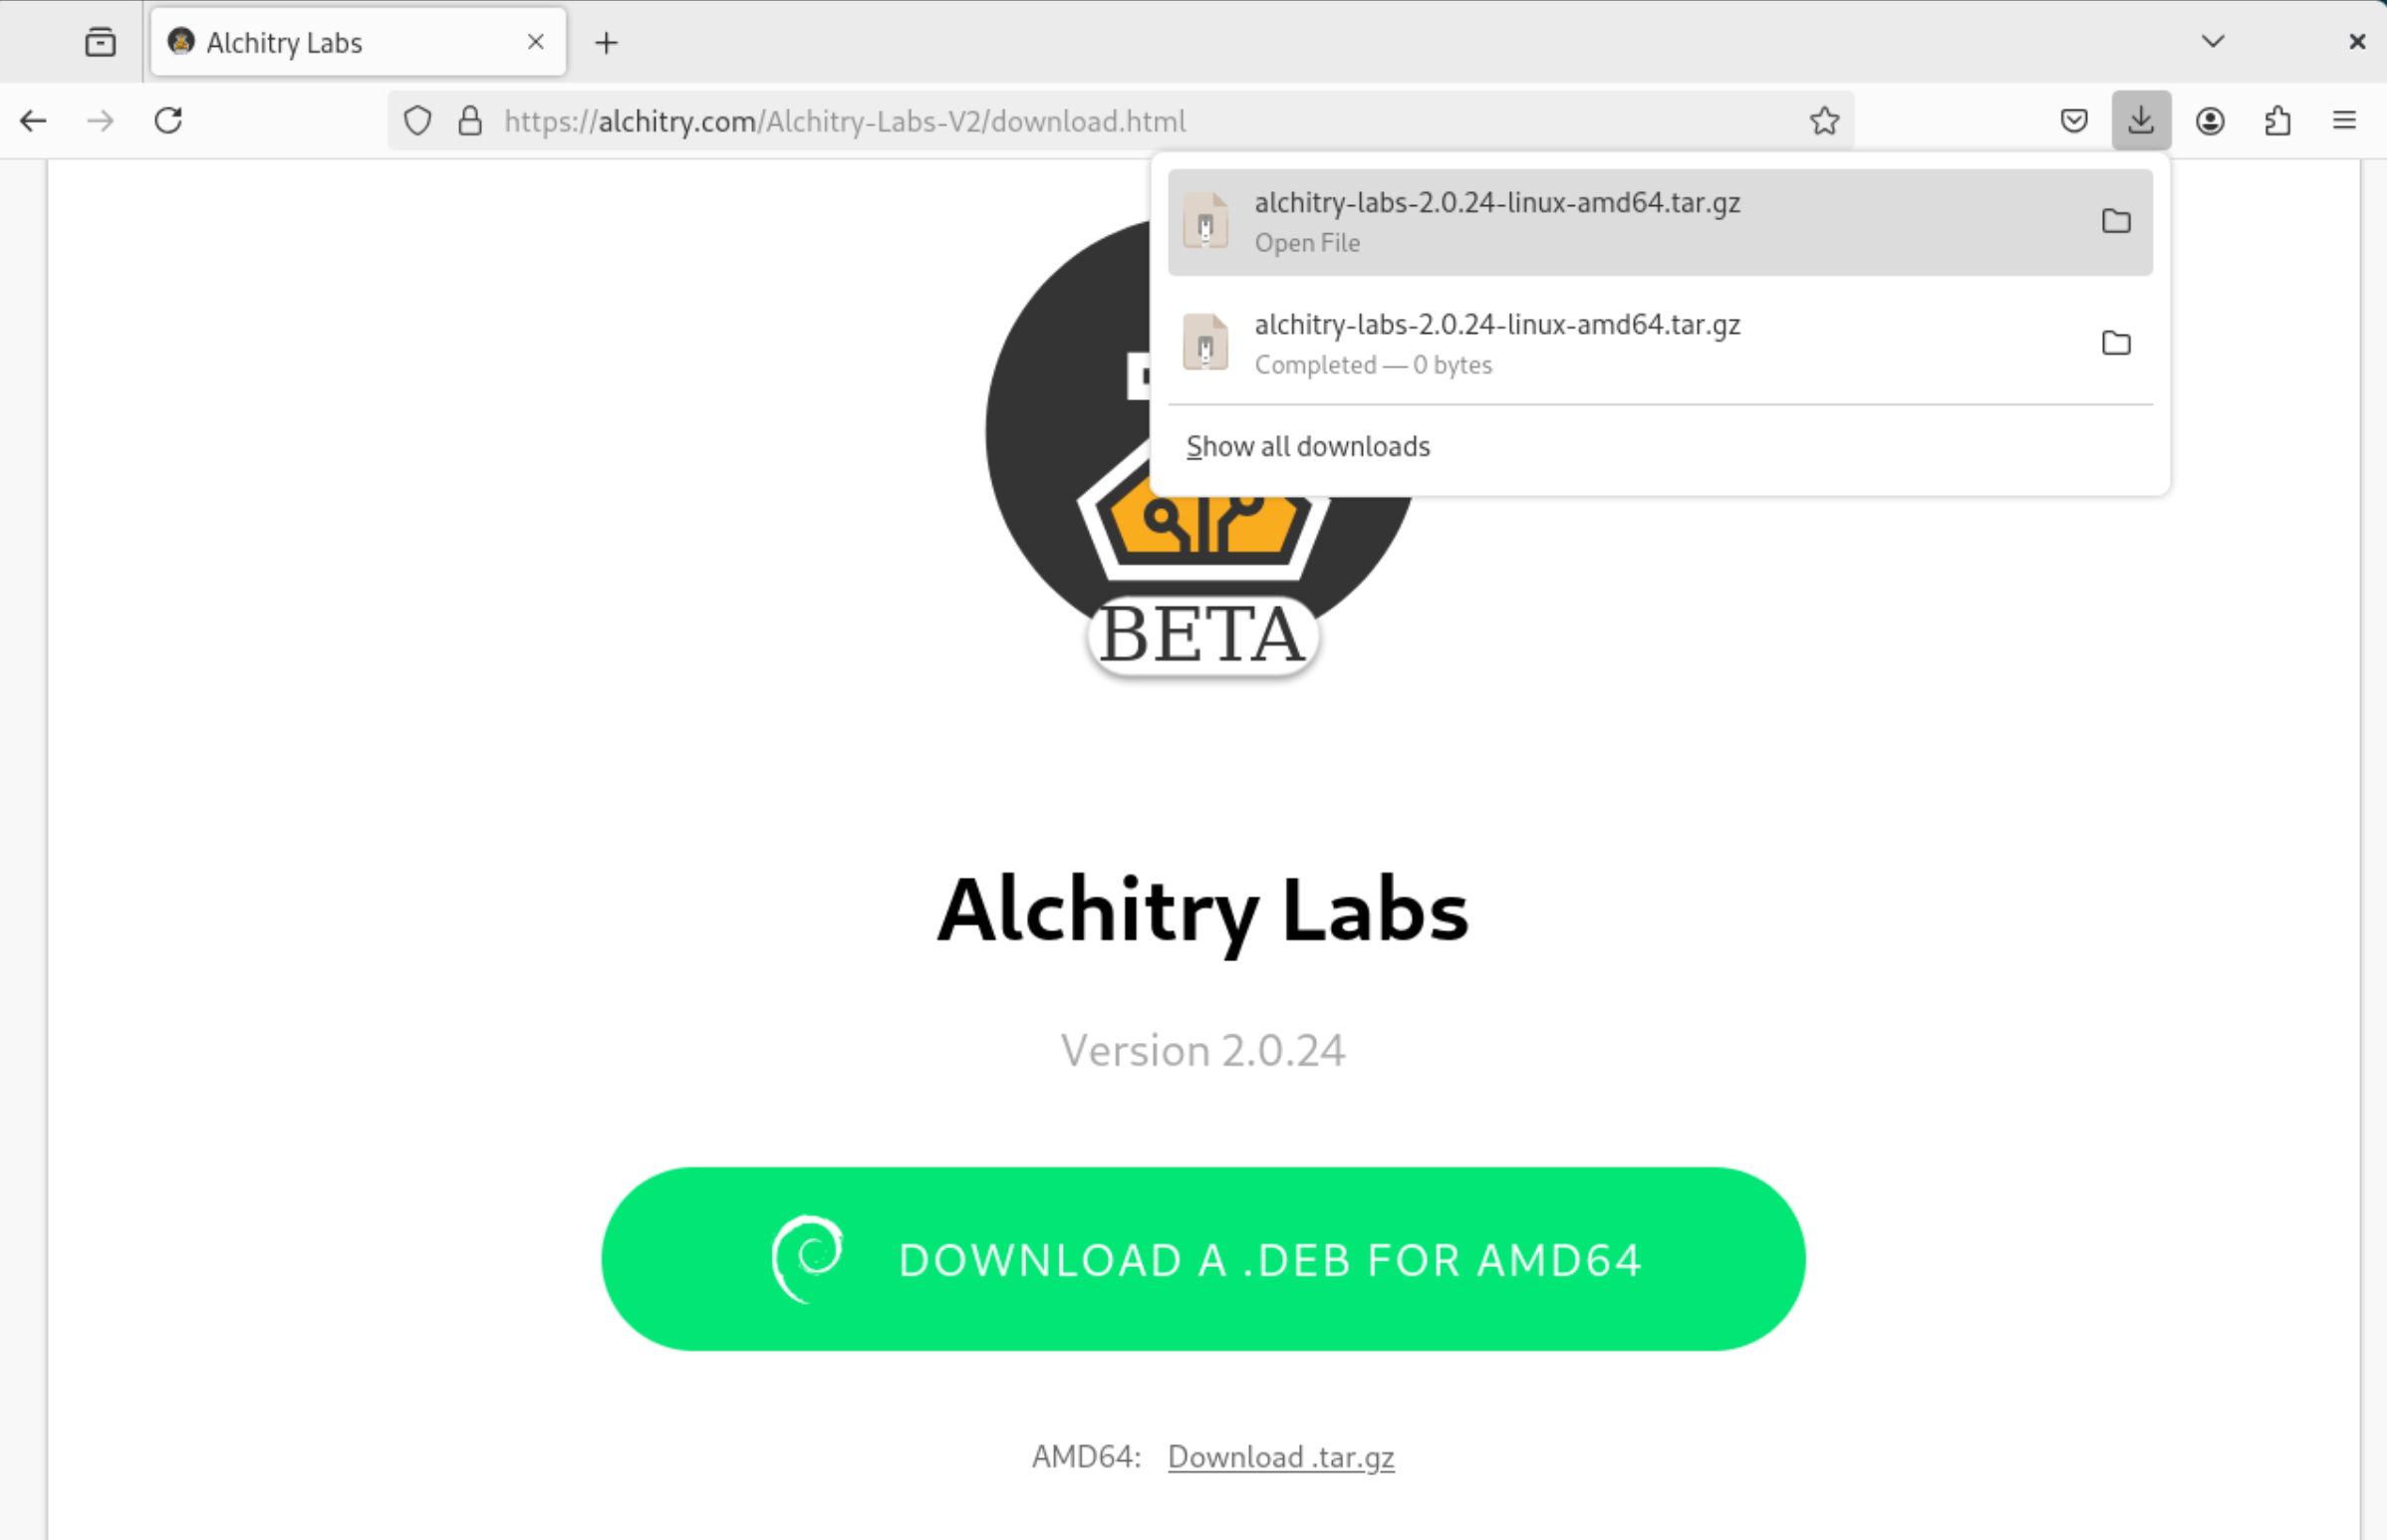
The VM image you download above comes with Alchitry Labs V2 2.0.24. It is likely that the author will bump the version from time to time. To download the latest build, go to the download page.
Click the Download.tar.gz (not the .deb!):
Afterwards, open the terminal and cd to Downloads, and unzip the tarball, and remove the old tarball once done:
cd ~/Downloads
tar -xvzf *linux-amd64.tar.gz
rm *linux-amd64.tar.gz
You should see a new folder created corresponding to the version of the alchitry labs:
Run Alchitry Labs with local JRE
You can run Alchitry Labs as per normal using the command a2. It is an alias, defined in ~/.bashrc.
# ~/.bashrc
alias a2='sudo java \
-Dapp.dir=$(find /home/debian/Downloads/alchitry-labs* -maxdepth 0 -type d)/lib/runtime \
-Djava.library.path=$(find /home/debian/Downloads/alchitry-labs* -maxdepth 0 -type d)/lib/runtime/lib \
-cp "$(find /home/debian/Downloads/alchitry-labs* -maxdepth 0 -type d)/lib/app/*" \
com.alchitry.labs2.GUIKt'
Note that you can’t just run the binary listed under
/binbecause it will use the pre-bundled JRE, and it causes some problems with Vivado 2025.2. Therefore we aliased the commanda2to run the.jarfile with the local JRE.
Ensure that in ~/Downloads you have deleted the old alchitry labs directory and only has the most recent one
Updating Java Version
The newest Alchitry Labs V2 requires Java 22 or newer at the time of this writing. The VM comes with Java 22. However, should it require newer version of Java, then you might need to upgrade your java version to run it. First, go to Oracle website and download the latest java for x64 architecture (not ARM64!):

The compressed file should be downloaded to ~/Downloads directory. From there, extract it and move to /usr/lib/jvm:
cd ~/Downloads
sudo tar -xvzf jdk-VERSION_linux-x64_bin.tar.gz -C /usr/lib/jvm
Then update update-alternatives:
Replace VERSION with whatever version you are downloading, e.g: 23.0.2
sudo update-alternatives --install /usr/bin/java java /usr/lib/jvm/jdk-VERSION/bin/java 1
sudo update-alternatives --install /usr/bin/javac javac /usr/lib/jvm/jdk-VERSION/bin/javac 1
sudo update-alternatives --install /usr/bin/jar jar /usr/lib/jvm/jdk-VERSION/bin/jar 1
Then set the new JDK as default:
sudo update-alternatives --config java
You’ll see a list of installed JDKs—choose the number corresponding to /usr/lib/jvm/jdk-VERSION/bin/java.
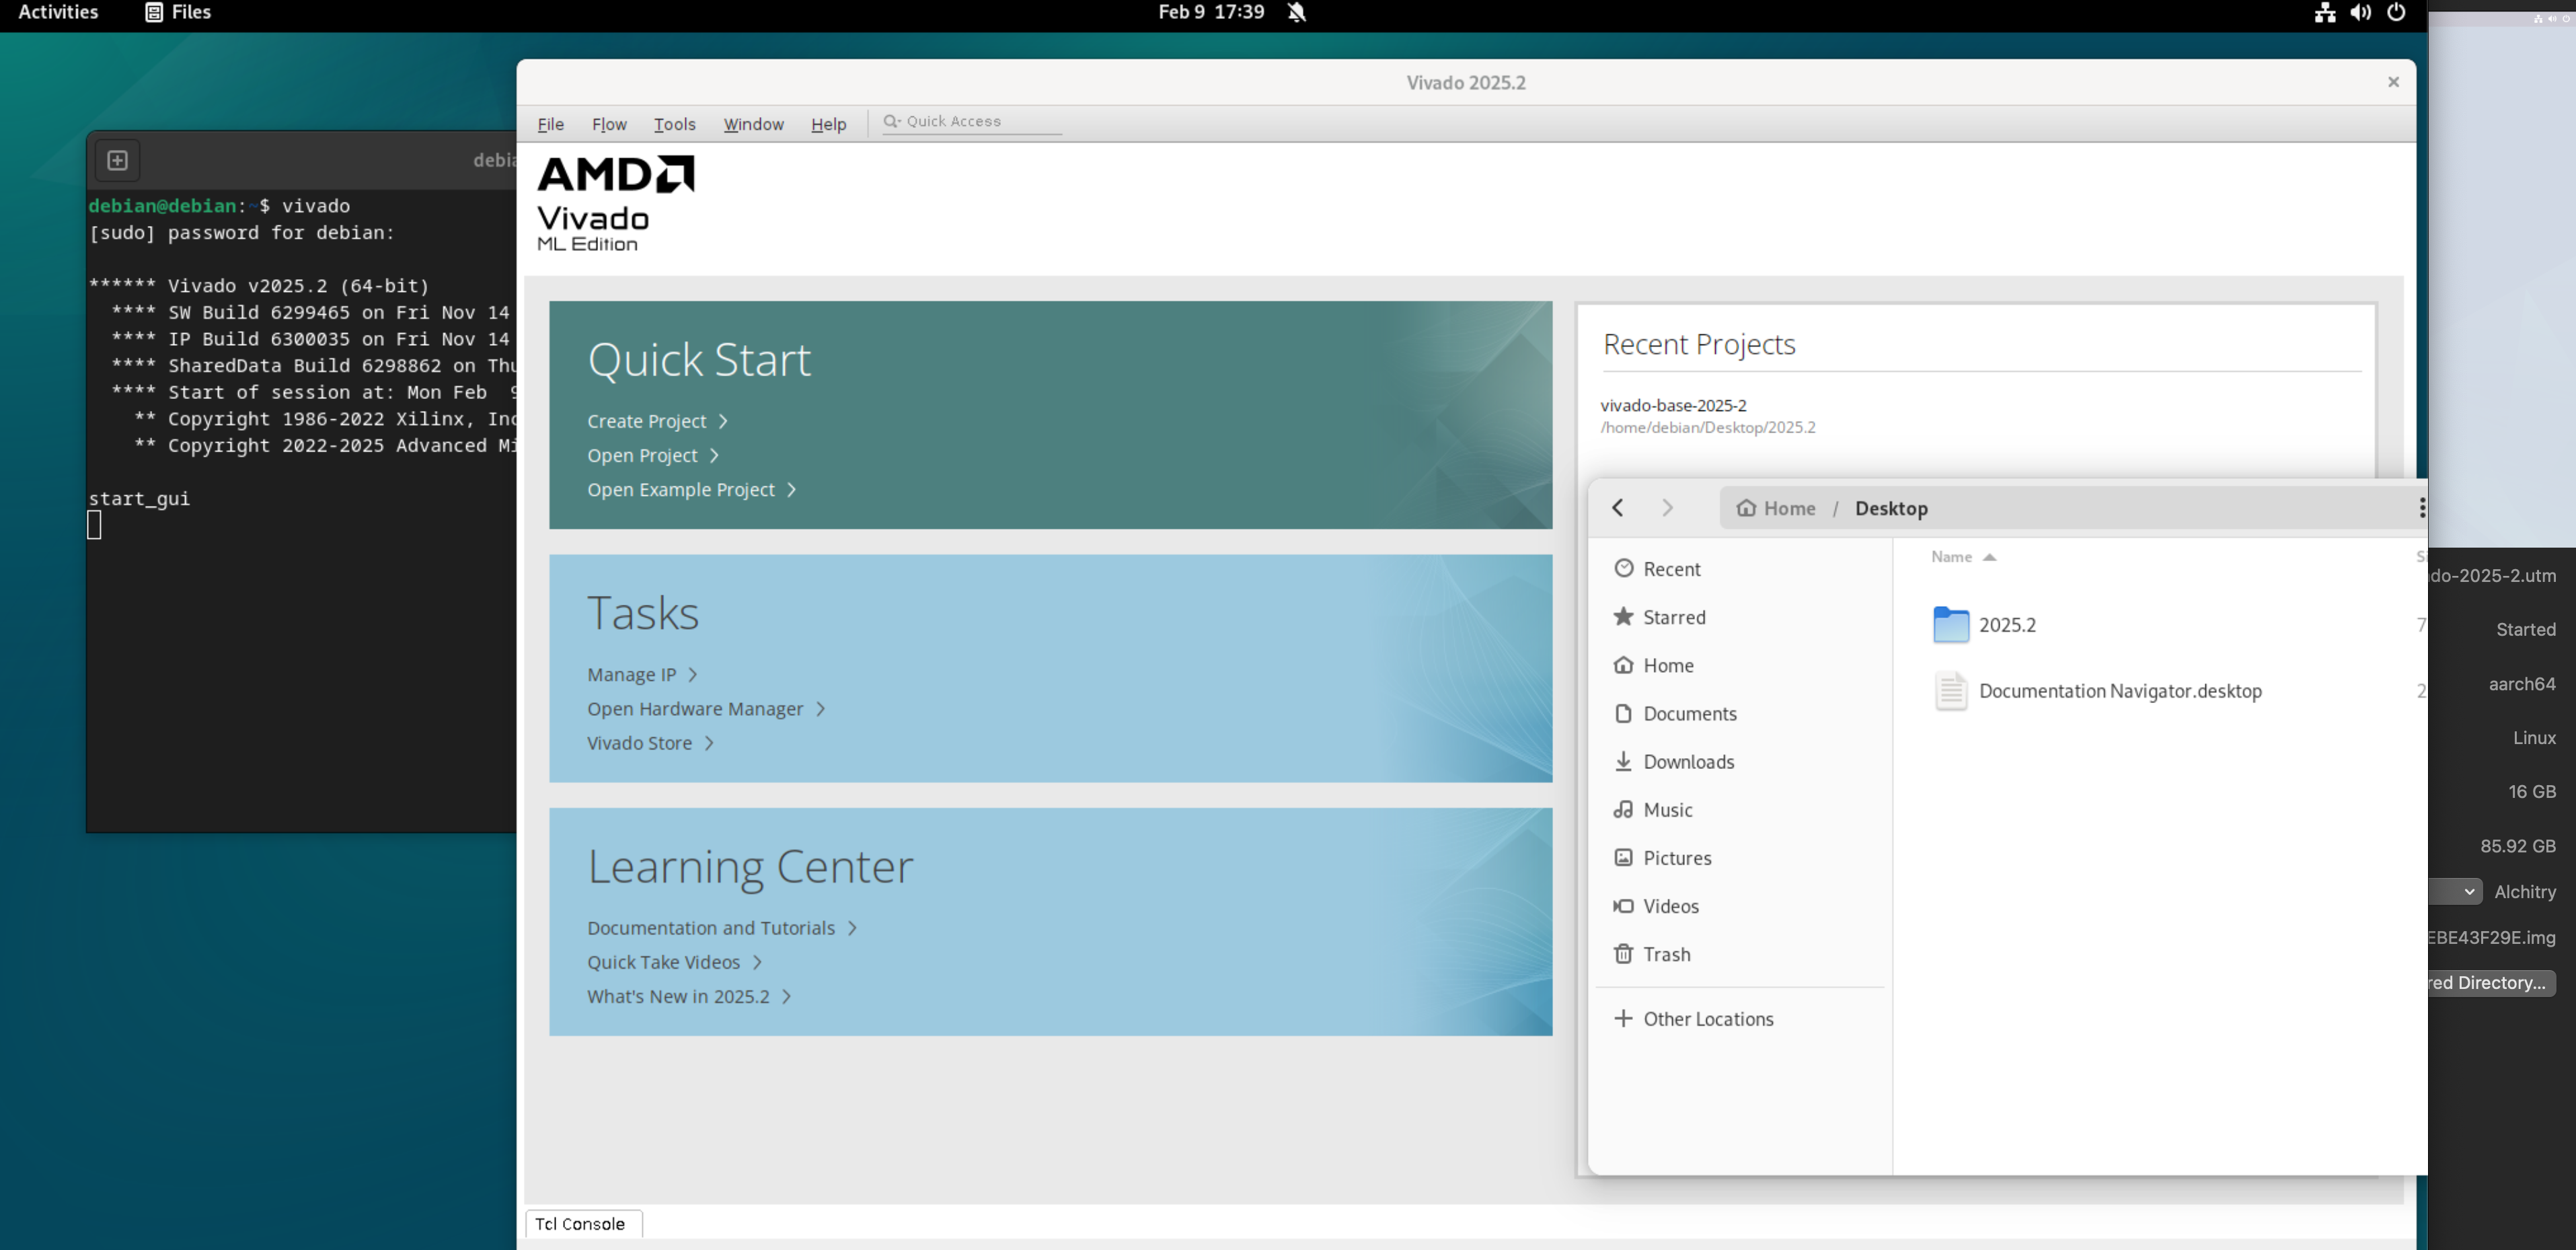
Running Vivado
You can run Vivado directly in the VM using the command vivado:
vivado is really just an alias to run Vivado binary using sudo:
# defined in bashrc
alias vivado ="sudo ~/Xilinx/2025.2/Vivado/bin/vivado"
Open a Sample Project
You can open the given sample project vivado-base-2025-2 located at ~/Desktop/2025.2. This is a starter project provided to program the Alchitry Au FPGA, complete with the constraint file and demo code (it’s basically the io_demo_v1_pulldown template):
Opening the project should give you this window.
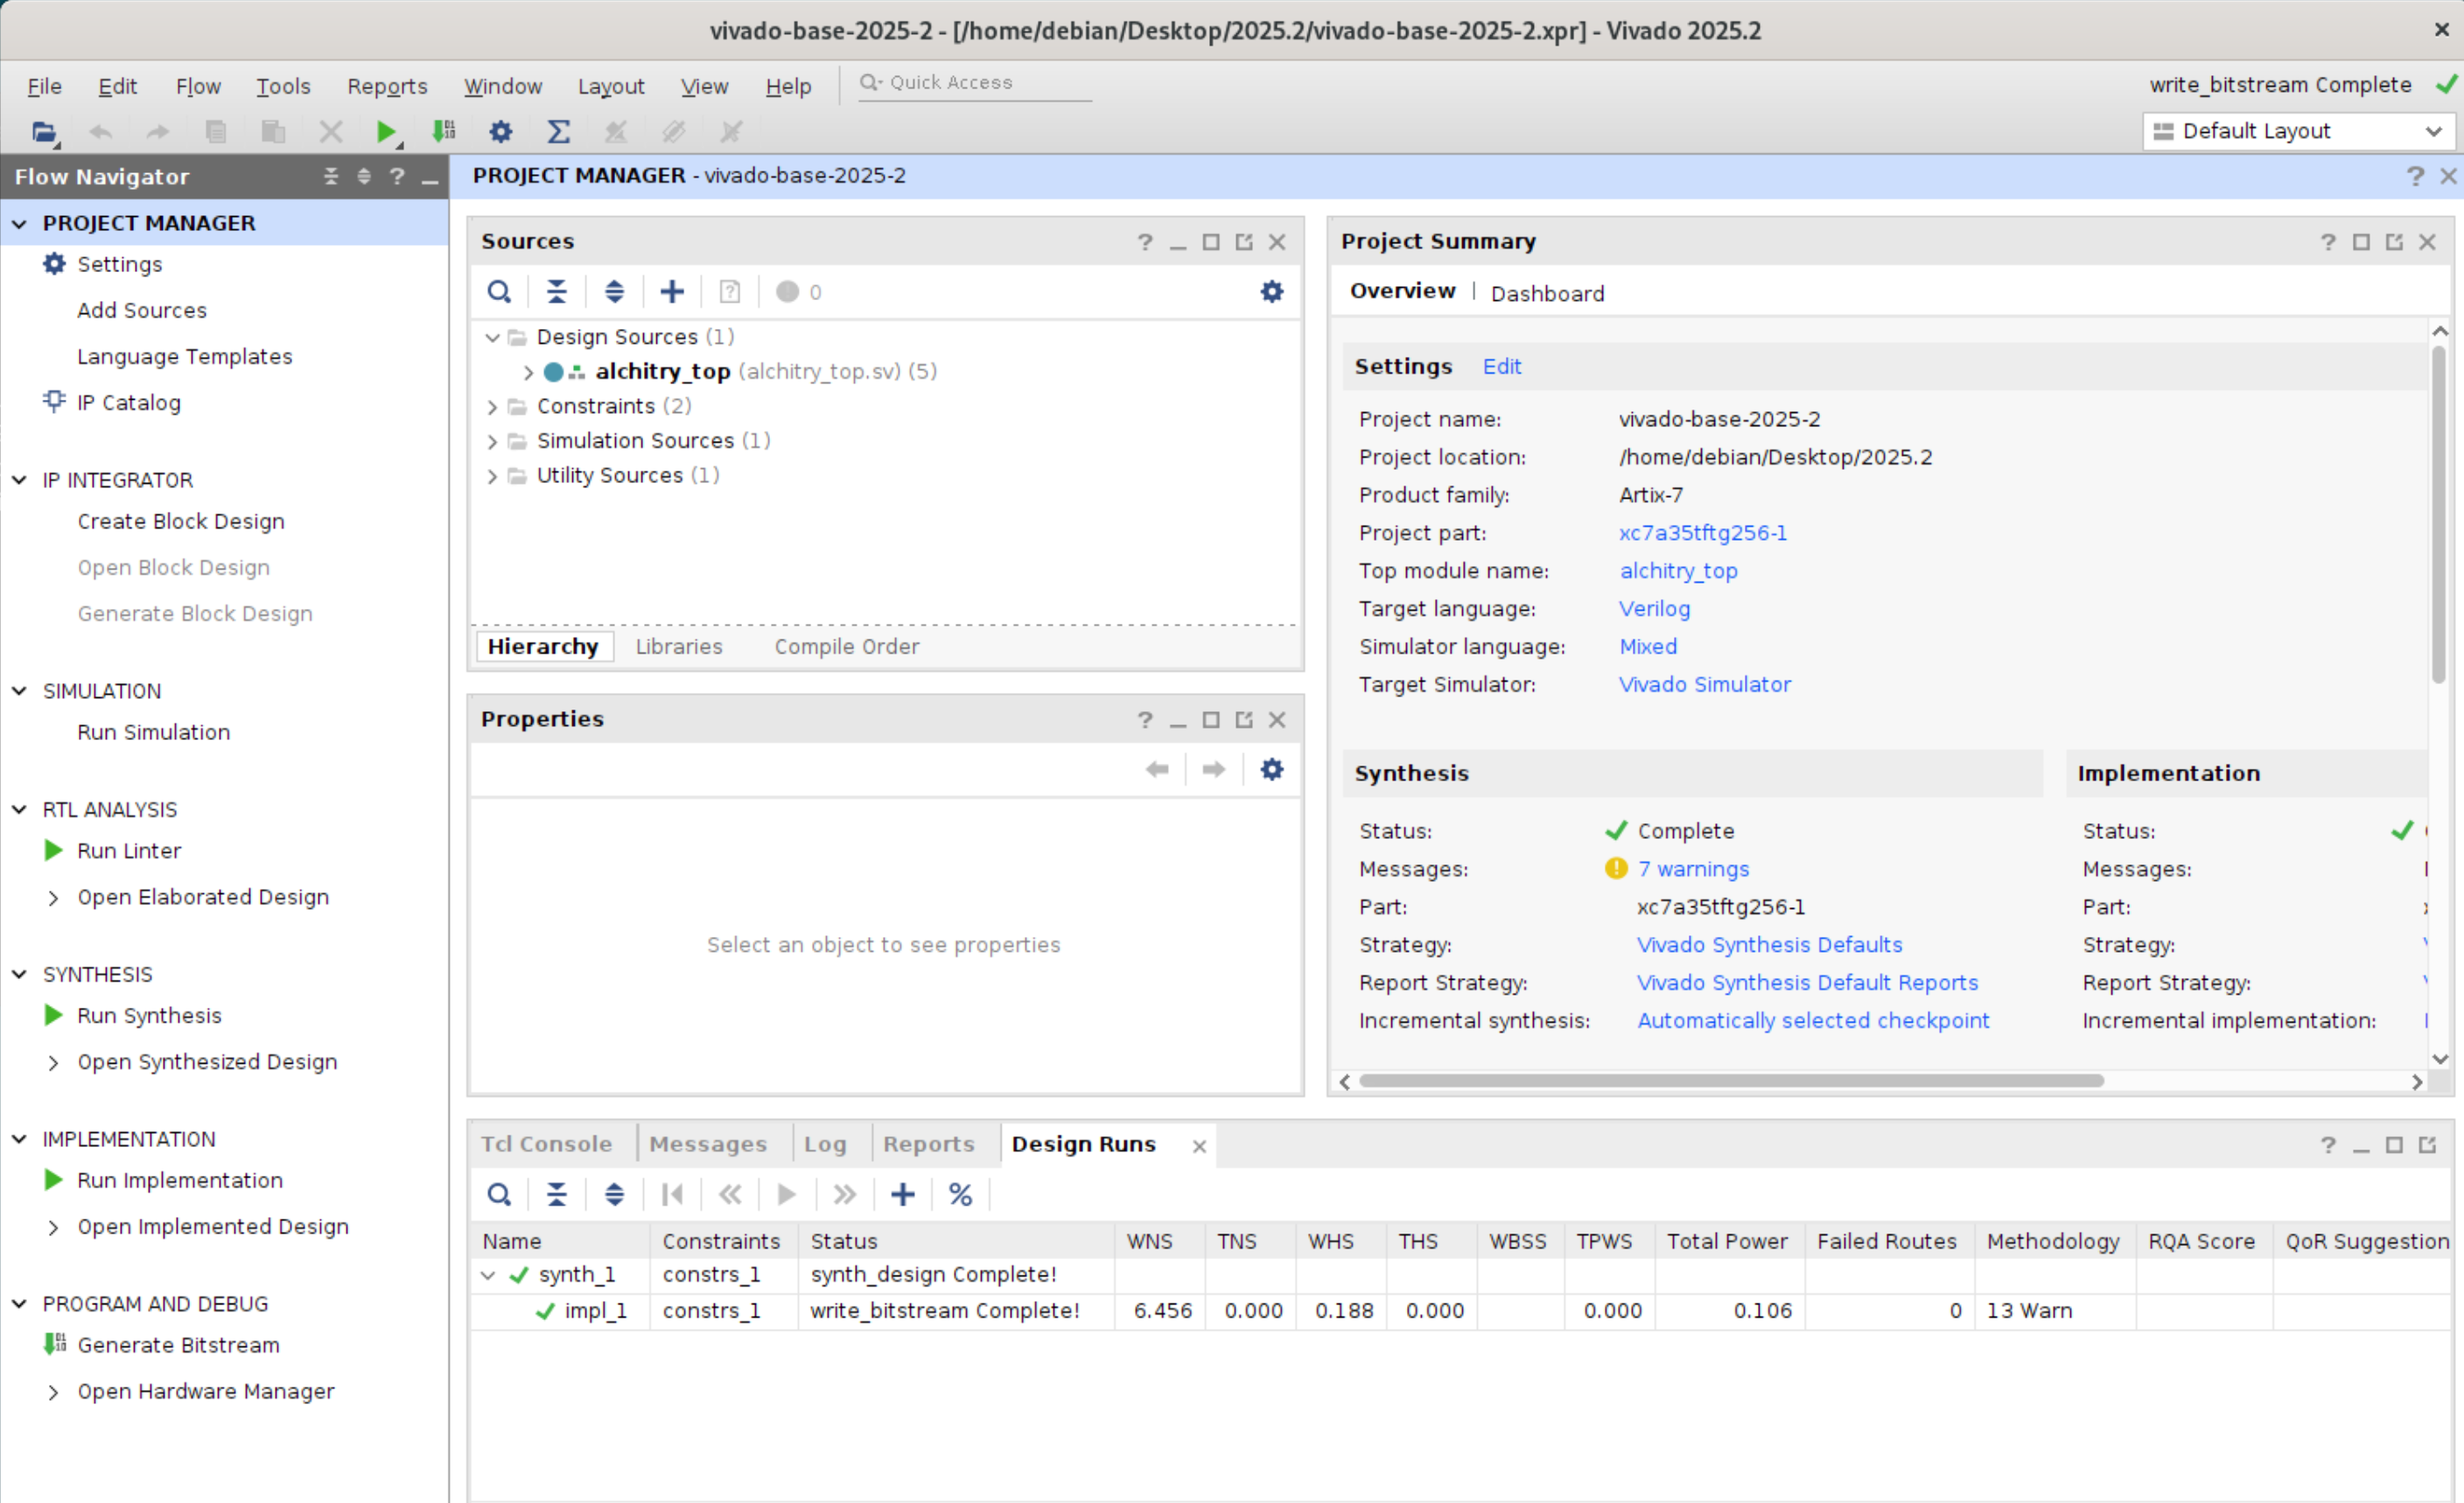
You can try to Generate Bitstream (bottom left of the window) to compile the sources. After synthesis and implementation is completed, you should find the binary alchitry.bin under the directory <PROJECT_DIR>/<PROJECT_NAME>.runs/impl_1/alchitry_top.bin:

Migrate the .bin file to your host macOS and use Alchitry Loader to load that to your FPGA.
System Verilog vs Verilog
Note that the starter code in the project is written in System Verilog. The project can accept both System Verilog and Verilog modules, so you should have no problem implementing the modules in the Verilog version of the lab into this project.
Read this guide for more info.
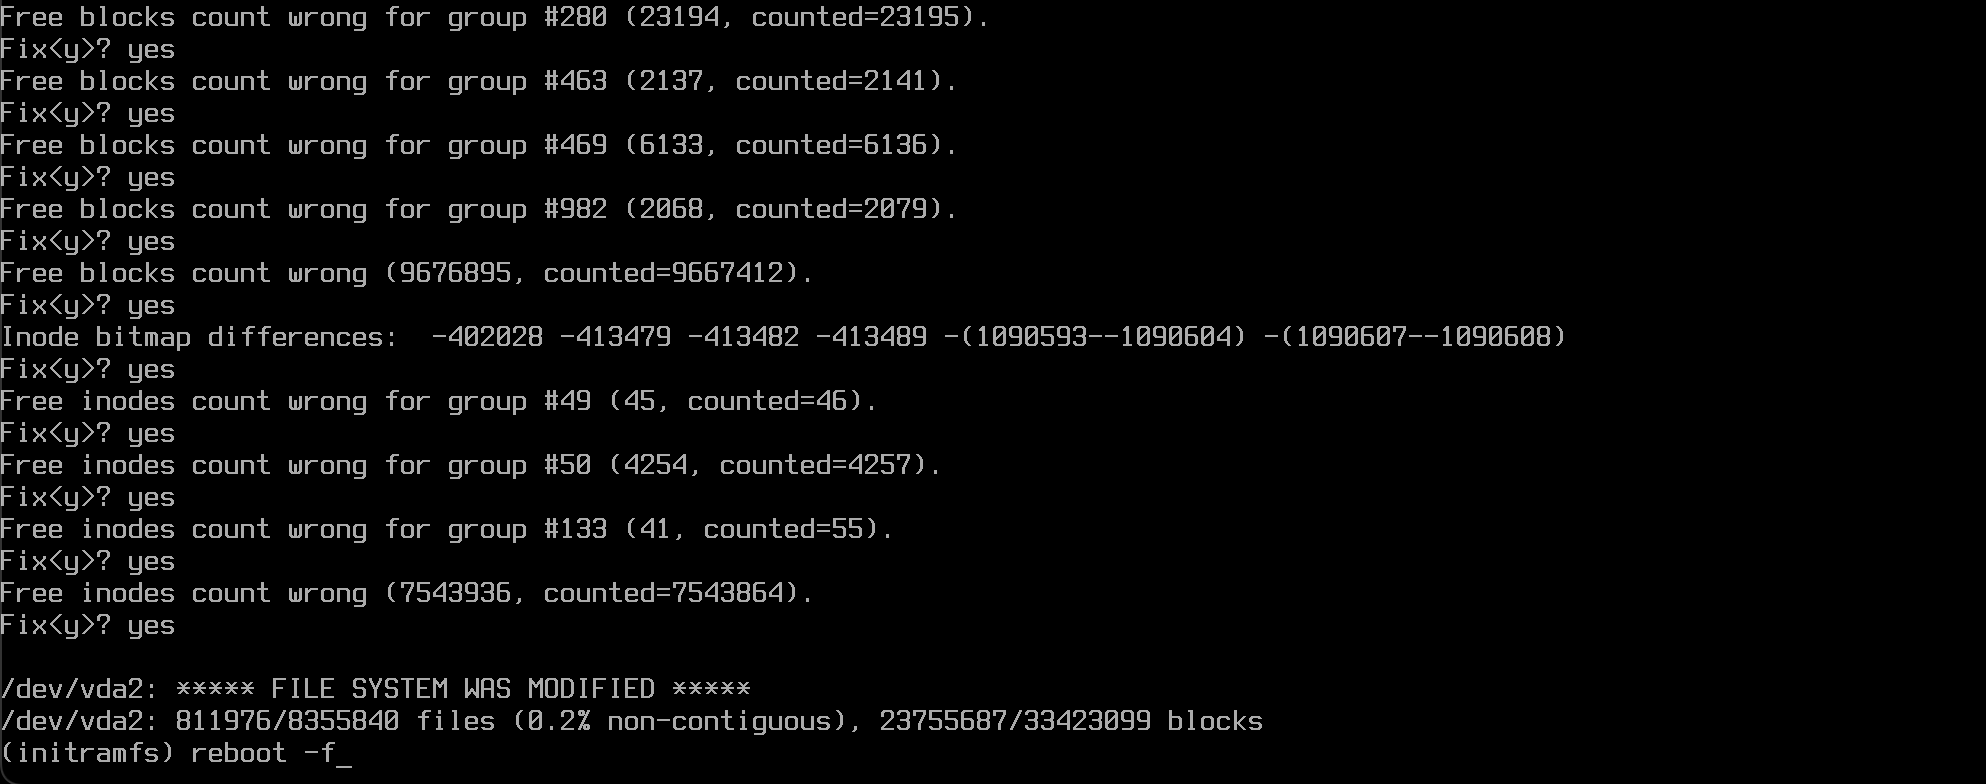
VM Crash
Sometimes the VM might crash for unknown reasons, and then when you restart, you are met with this screen:
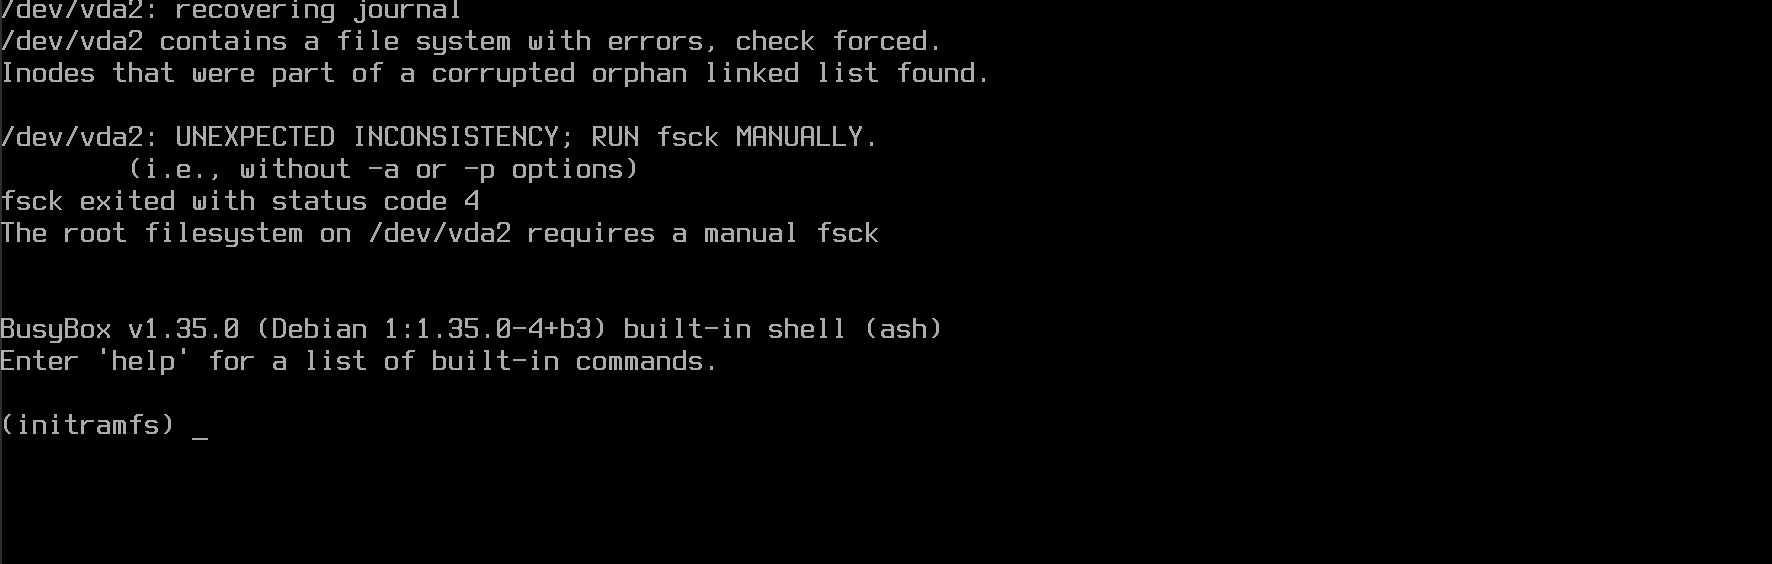
Simply type the command:
fsck /dev/vda2 -y
When it’s done, reboot the system:
reboot -f