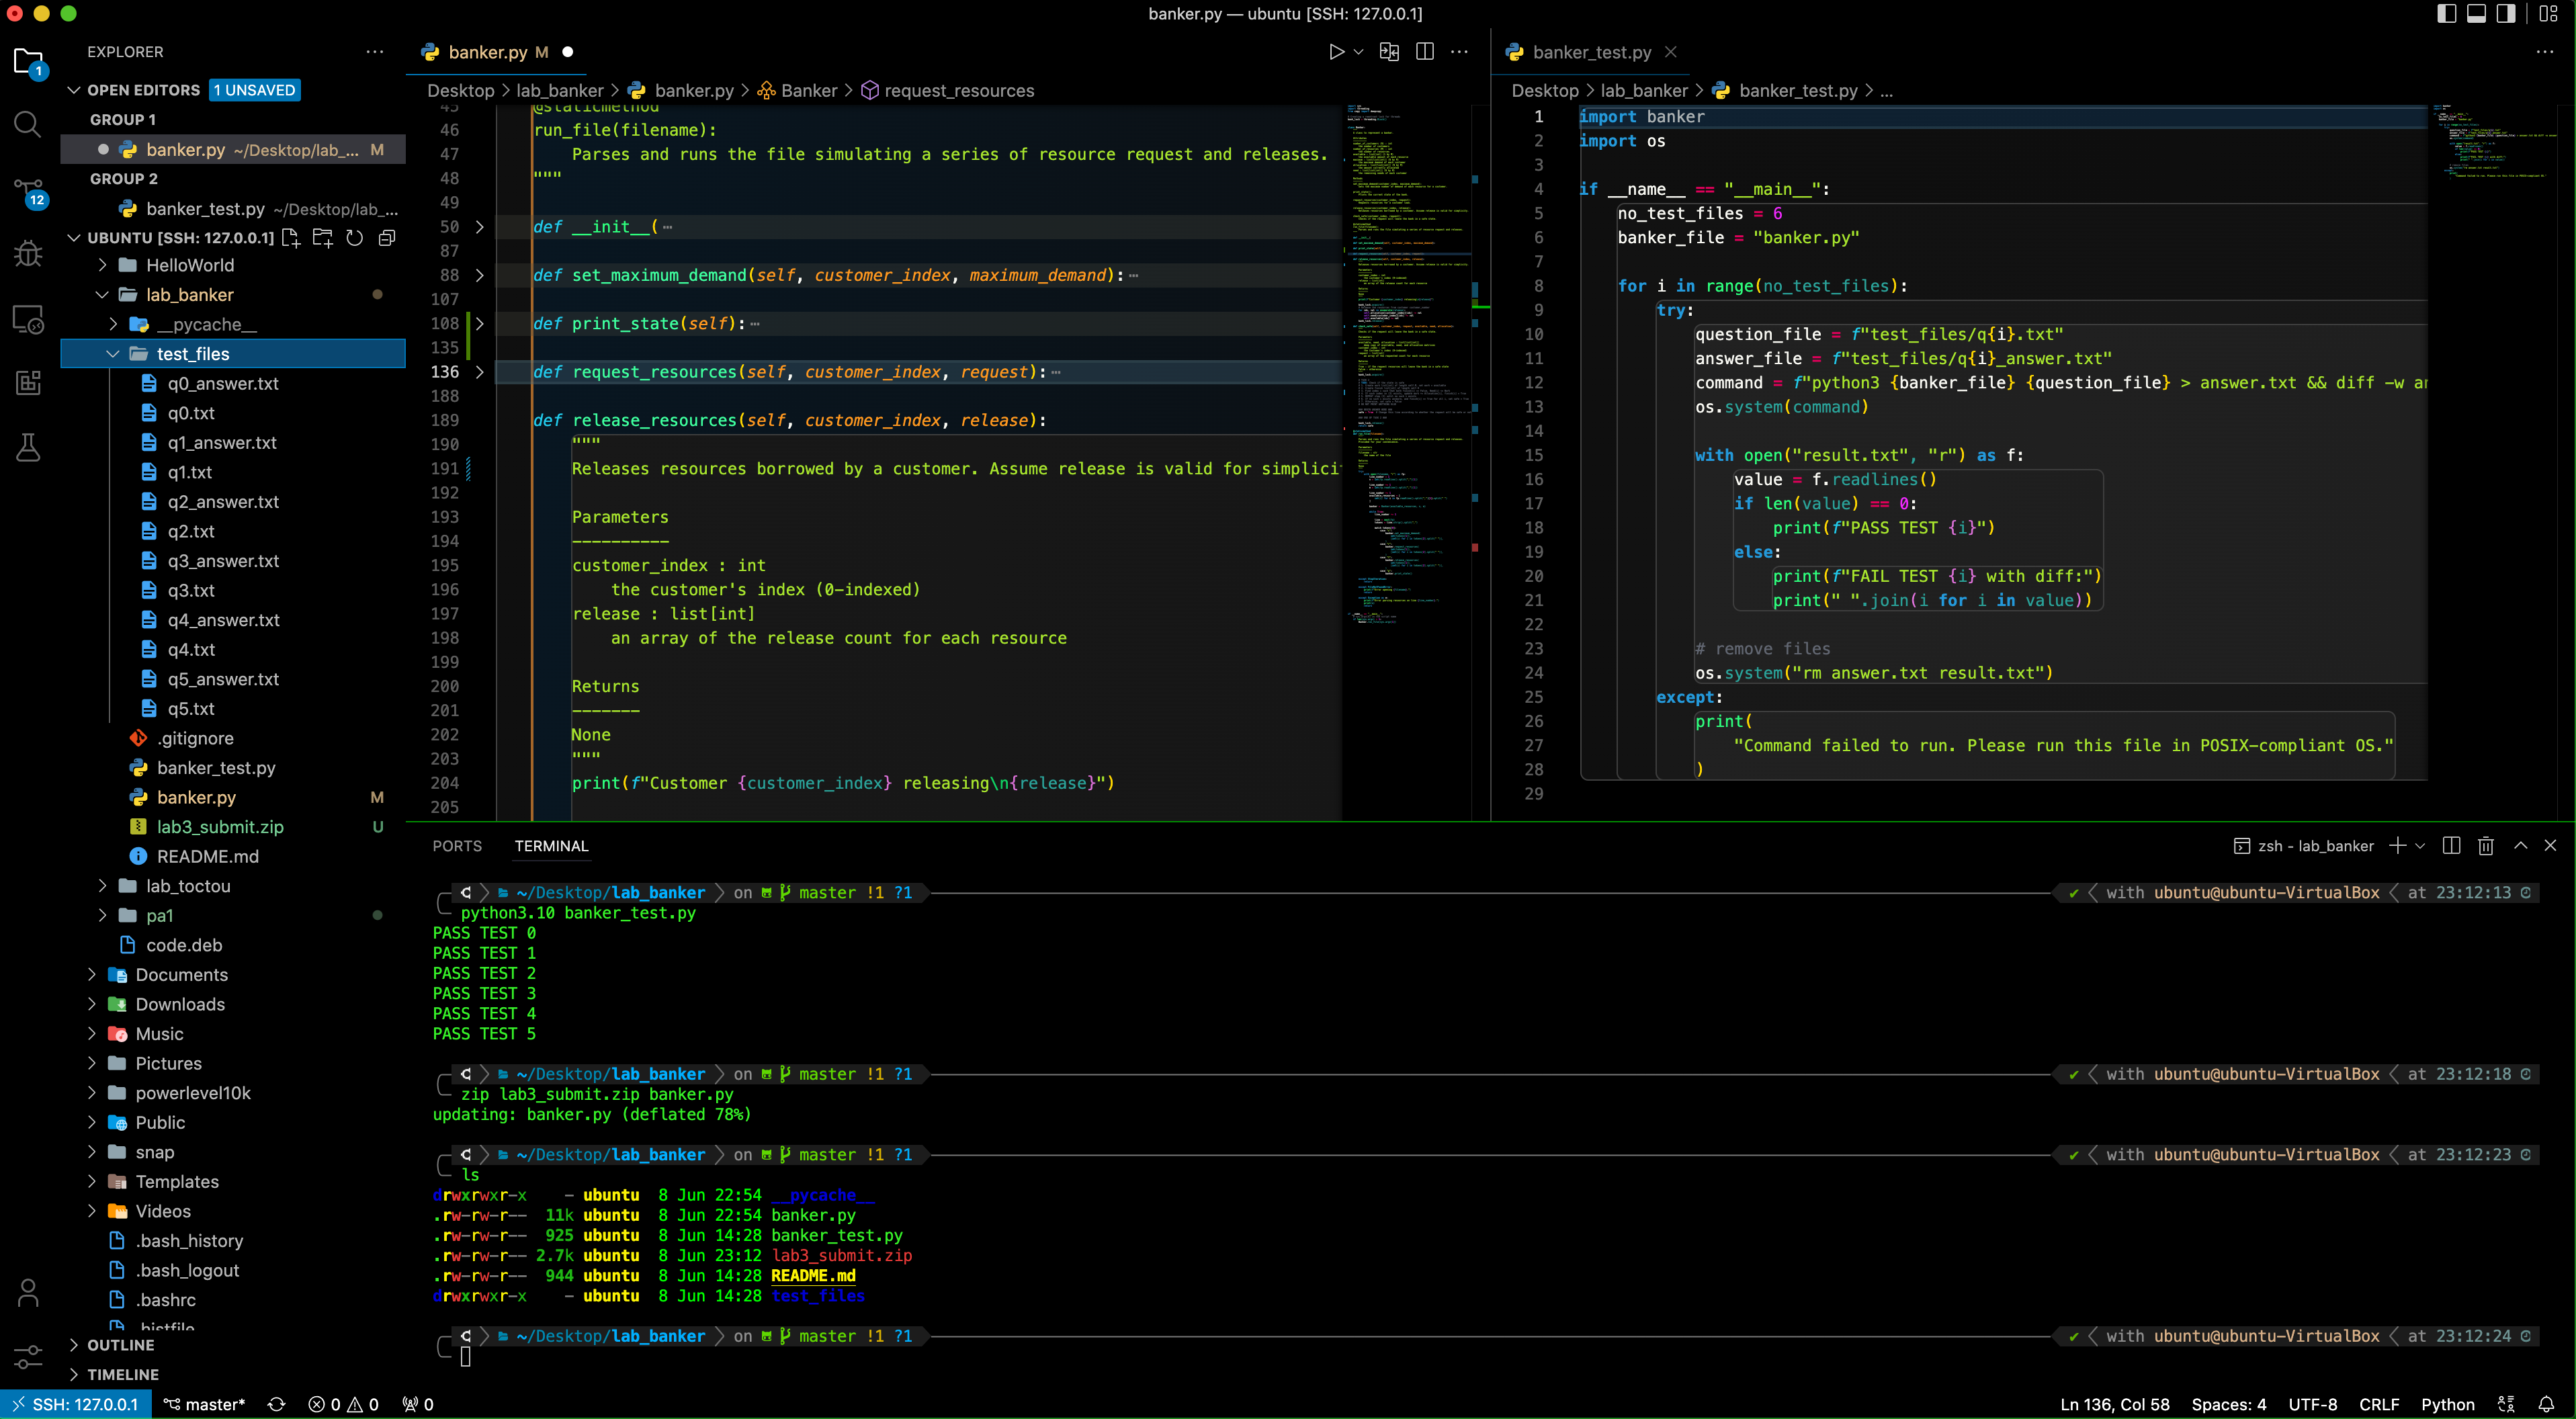
When you’re confident that your Task 1 and Task 2 are correct, you can run the tester file:
python3.10 banker_test.py
This will run your banker.py against all 6 test cases: q0 to q5. If all goes well, the following message will be printed:

And of course, the above tester file will only run on POSIX-compliant OS.
It performs a simple output string matching (which is how our autograder works). Therefore it is crucial for you not to print anything else. If you need to debug, use a debugger. Be a proper programmer, it’s never too late to start today 🥳.
Submission
Once you have completed Banker.py, zip that file and submit your answer to our bot. Just type /start and follow the instruction there.
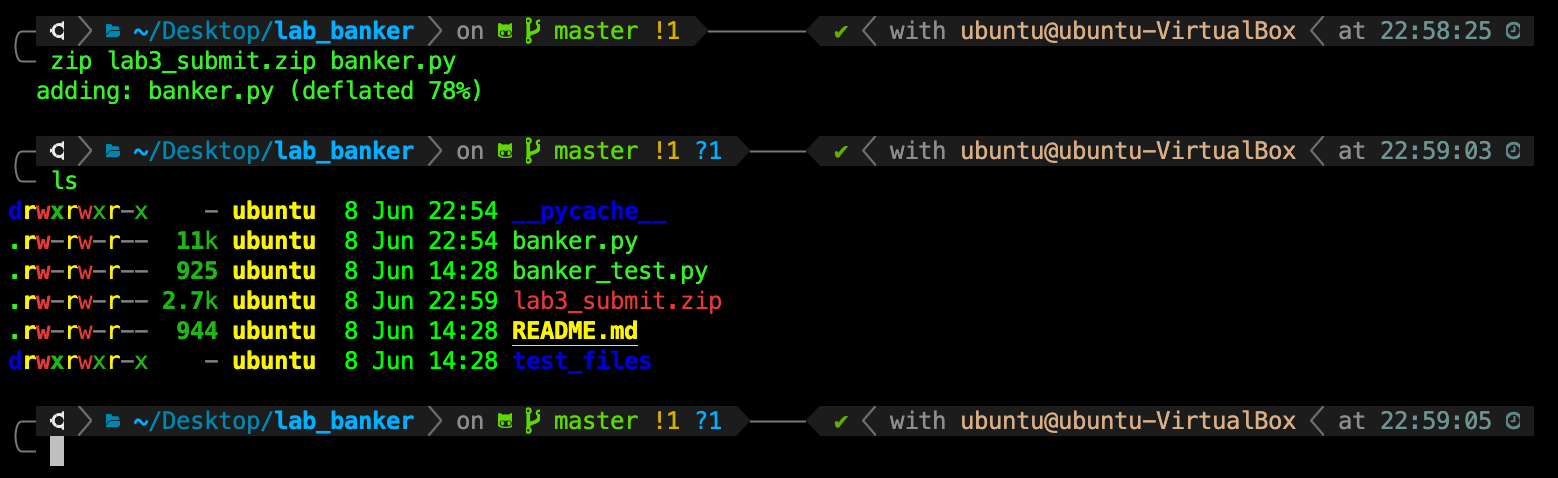
Zip can be done easily via the cli (POSIX-compliant OS). Call this command inside lab_banker/ directory:
zip lab3_submit.zip banker.py
If you don’t have zip, you shall install it:
sudo apt update
sudo apt install zip
You need to submit the code within 24 hours from the start of your lab session. In the event that the bot is not responsive, you may send your python file Banker.py to your UTA. They will collate and submit it to our instructor. Remember: only type your answers in the given space. DO NOT print anything else, and DO NOT import any other modules, and DO NOT modify any other instructions.
Appendix
How to migrate the .zip file?
Working on a VM and don’t know how to migrate your .zip file out to your host OS? You can choose the hard way like login to your email account in your VM and then email yourself the zipfile. Or, login to Telegram in your VM.
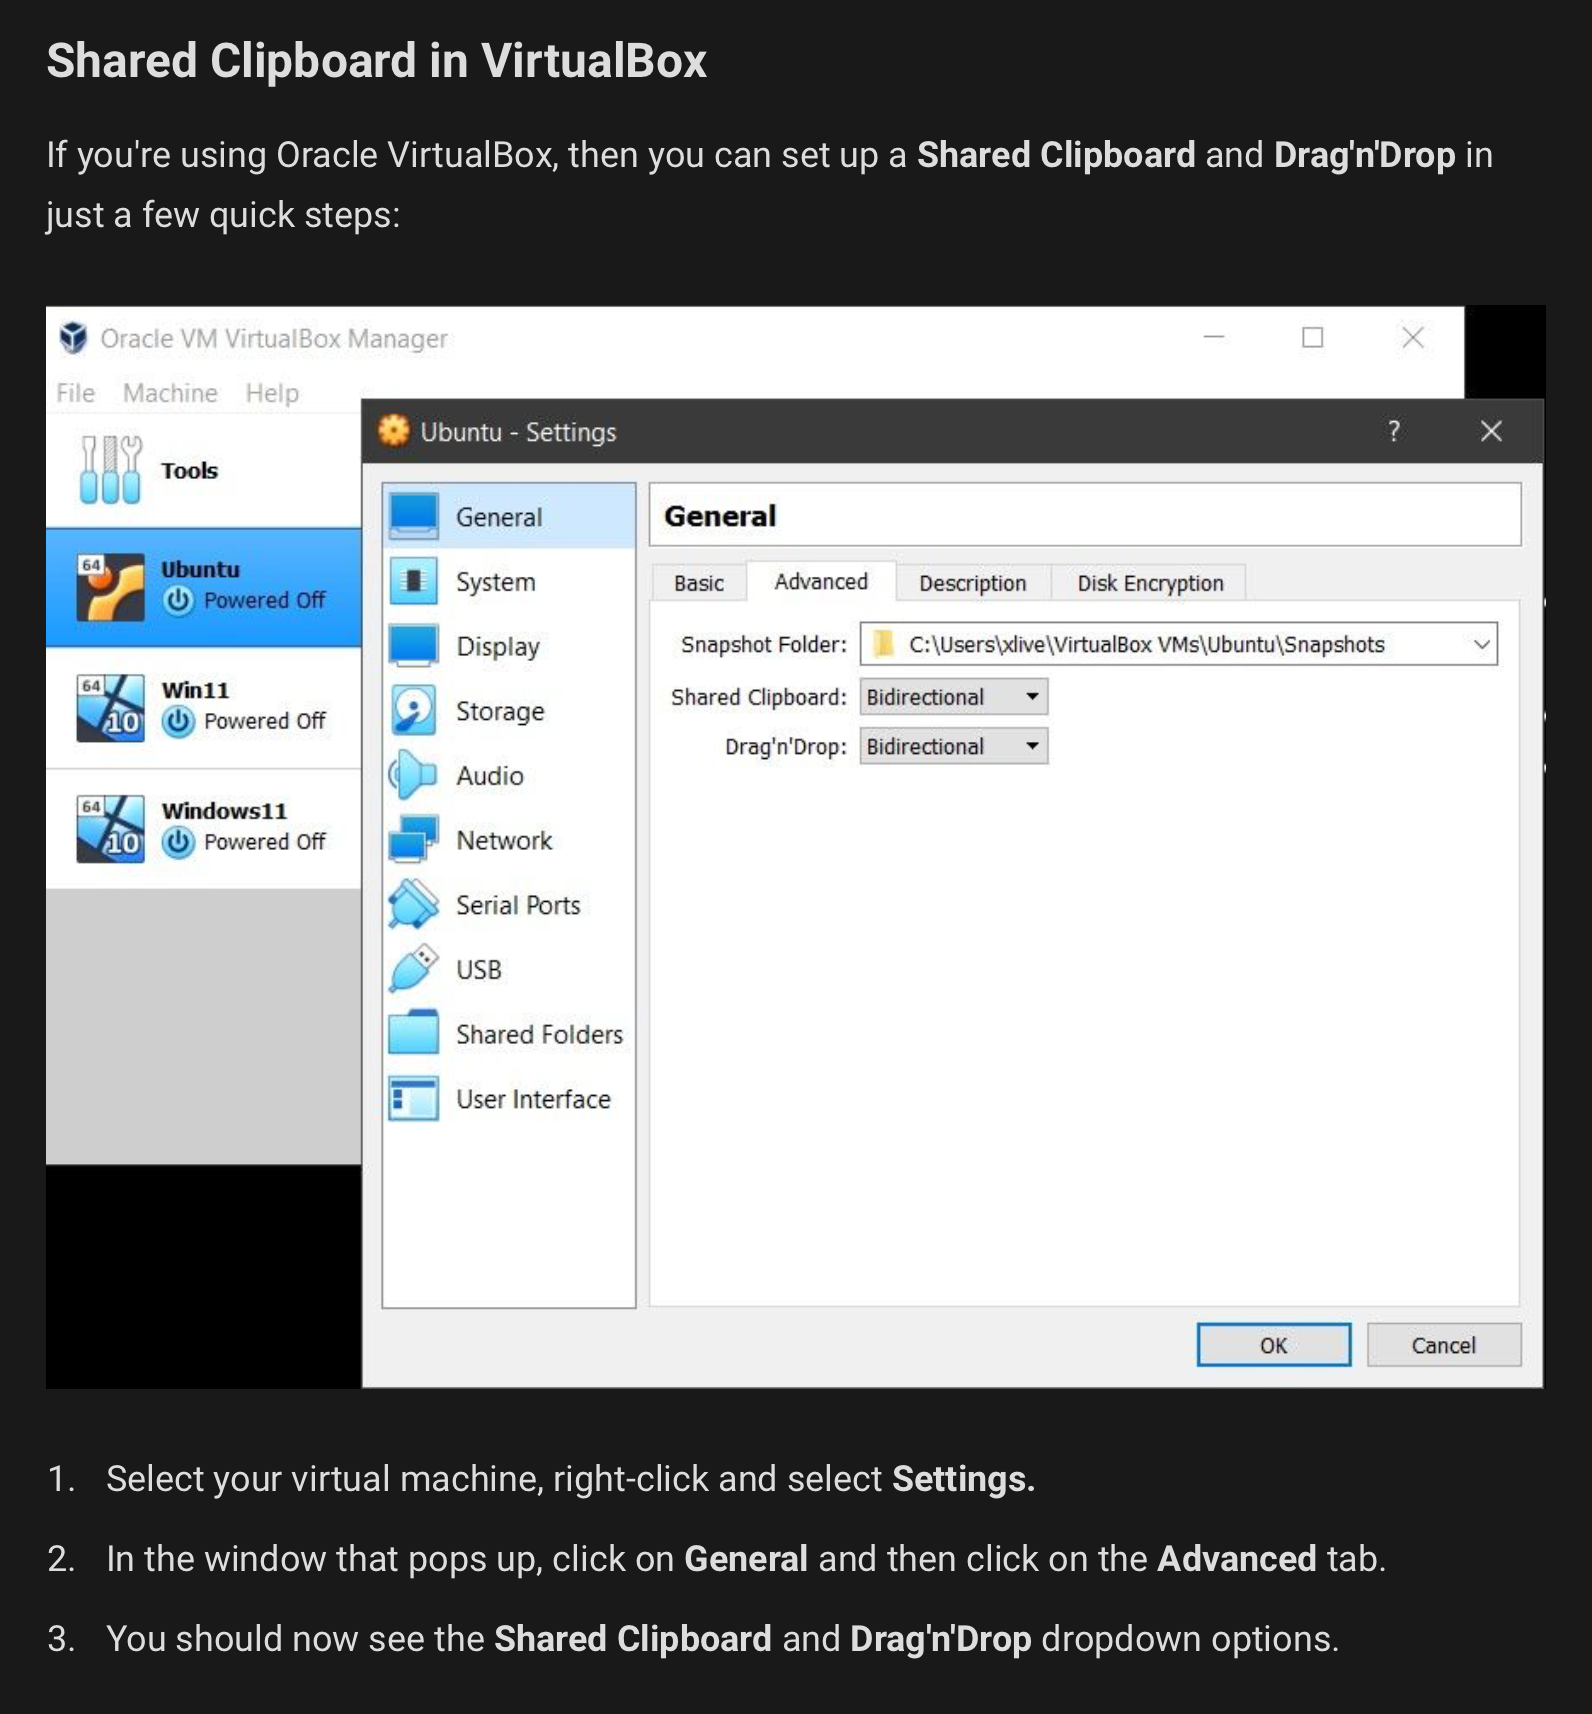
If you’re using VirtualBox, you can also enable shared clipboard:
But why do that? Why do that if you’re a CS student? Use ssh!
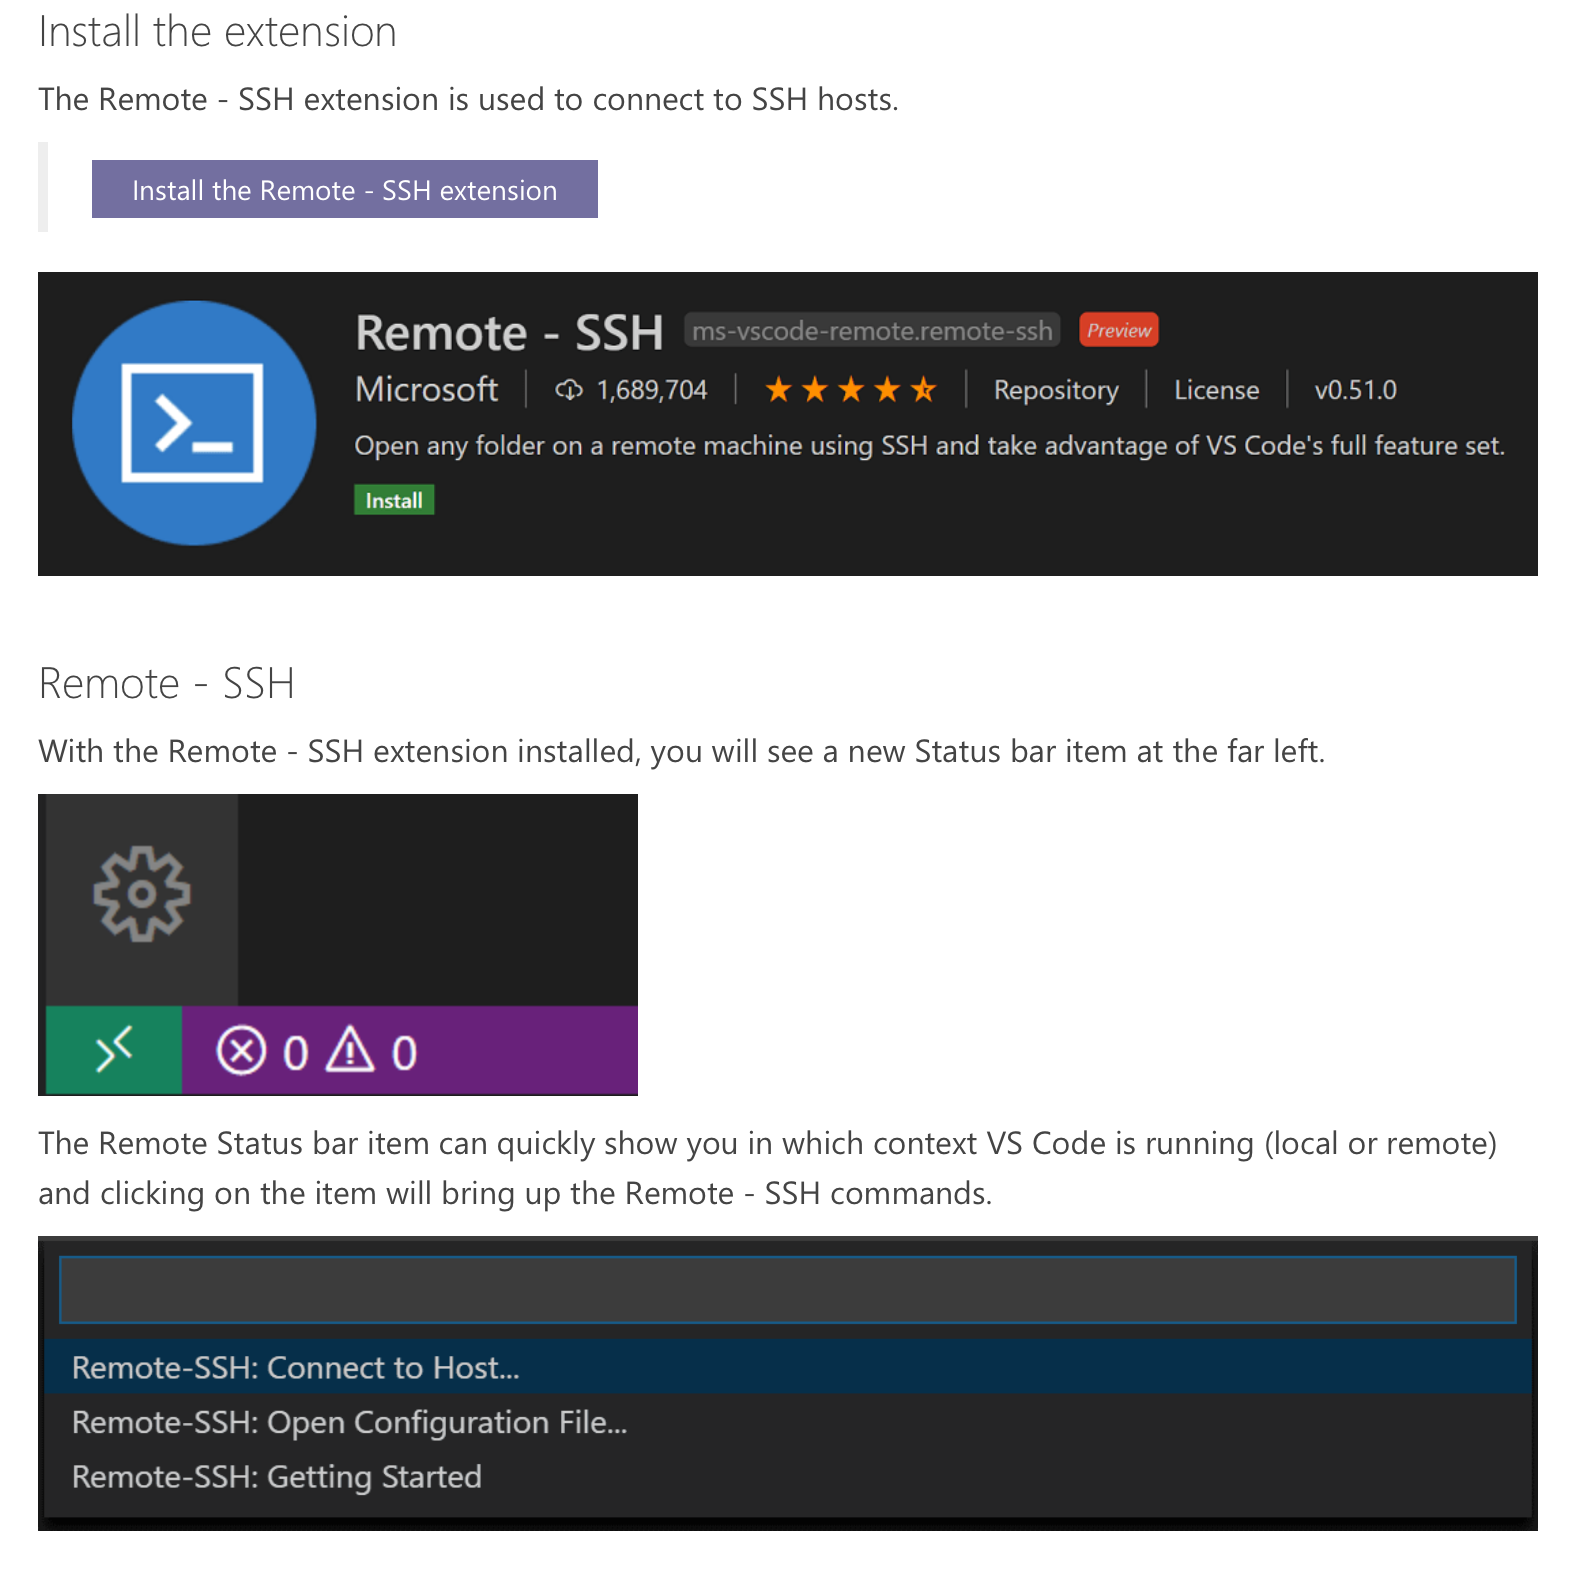
ssh
You can enable ssh at your VM, here is a guide if you’re using VirtualBox. Or, you can simply Google “ssh to your-virtual-machine” and follow simple steps there[. Then, enable ssh on VSCode: install the ssh extension and connect! You can follow the guide here just this part:
Then, type in your VM address when prompted in this format: ssh -p <port_number> <username>@<local_ip>, for example:
ssh -p 3022 ubuntu@127.0.0.1
You will need to then enter your password. Then click Open Folder and select your Home folder. You will have a nice interface with VSCode now, connected to your VM. Drag and drop to transfer files between your host OS and your VM. No lag, nice terminal, can utilise VSCode functionalities.. Doesn’t it spark joy?